


How to Choose and Maintain Your Car Shelter: Complete Guide
1. Why Use a Car Shelter?
A temporary or permanent shelter is a great option if you don’t have a garage or want to free up indoor space. It allows you to:
- Protect your vehicle from snow, ice, freezing rain, winter sun, and fallen leaves.
- Avoid premature wear caused by freeze-thaw cycles.
- Save time every morning—no more shoveling or scraping windows!
- Optimize your outdoor space, with no permanent construction required.
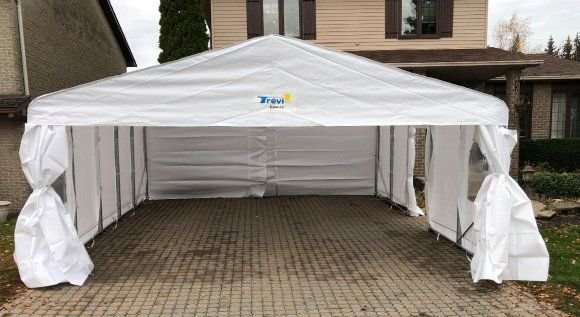
Trévi shelters stand out with:
- A sturdy galvanized steel structure, designed to withstand harsh weather.
- Durable, corrosion-resistant materials.
- A wide range of models: single, double, lean-to, in various heights and lengths—something for every need.
2. How to Choose the Right Shelter
Before selecting your shelter, consider several factors: roof shape, number of vehicles, anchoring type, available space, and optional features.
What do you need: Single, Double, or Single-slope?

The most common type, ideal for protecting one vehicle. Also suitable for motorcycles, snowmobiles, or small trailers.

Perfect for two vehicles or for storing extra items like tires, firewood, or a snow blower.

Great when installed next to a house, garage, or fence. They channel water and snow in a single direction.
Roof Shape: Choose Based on Your Environment

Designed to maximize snow and water runoff. Natural drainage on both sides reduces accumulation and lowers maintenance—ideal for heavy snowfalls or thaw periods.

Its curved shape acts as a wind buffer. Air flows more easily around the shelter, improving stability in windy areas. Recommended for open or exposed environments.

Angled on one side, this design directs snow, water, and ice in a single direction. Very practical when installed against a wall or fence, preventing buildup where it matters most. Also ideal for narrow or sloped driveways.
Anchoring Type: Permanent or Temporary?
The right anchoring system depends on the surface (asphalt, grass, gravel) and how often you set up and take down your shelter.


Permanent anchoring
What is it? Steel rods screwed directly into asphalt.
Advantages:
- Provides better long-term stability.
- Resists strong winds.
Things to keep in mind:
- Installation must be on asphalt.
- Leave clearance on both sides for proper installation.
- Avoid a shelter that's too tight for your driveway—anchors won’t fit securely.


Temporary anchoring
What is it? Concrete blocks placed at the corners of the shelter.
Advantages:
- Easy to install—no drilling required.
- Can be moved from one surface to another (grass, gravel, asphalt).
- Ideal for seasonal users or renters.
Optional: Anti-wind straps are recommended for exposed areas or taller models.
Number of Blocks Required
For concrete blocks, it's best to install them at the same time as the shelter.Trévi recommends 6 blocks per 4–5 ft section, or 3 blocks per side.
Choosing the Right Dimensions
Make sure to consider:
- The width and length of your driveway.
- The height of your vehicle (SUVs and trucks need more clearance).
- The type of anchoring system (permanent anchors require additional space).
{"type":"root","children":[{"type":"text","value":"How Many Anchors Do You Need?"}]}
Temporary Anchors (Concrete Blocks)
Trévi recommends 6 blocks per 4–5 ft section, or 3 per side, to ensure optimal stability, especially in wind or heavy snow.
| Shelter size | Concrete blocks | Number of sections (± 4-5 ft each) | Layout |
|---|---|---|---|
| 8' | 12 | 2 sections | 3 blocks per side × 2 sections |
| 12' | 18 | 3 sections | 3 blocks per side × 3 sections |
| 16' | 24 | 4 sections | 3 blocks per side × 4 sections |
| 20' | 30 | 5 sections | 3 blocks per side × 5 sections |
| 24' | 36 | 6 sections | 3 blocks per side × 6 sections |
| 28' | 42 | 7 sections | 3 blocks per side × 7 sections |
| 32' | 48 | 8 sections | 3 blocks per side × 8 sections |
| 36' | 54 | 9 sections | 3 blocks per side × 9 sections |
| 40' | 60 | 10 sections | 3 blocks per side × 10 sections |
Temporary anchors for single-slope shelters
| Shelter size | Concrete blocks | Number of sections (± 4-5 ft each) | Layout |
|---|---|---|---|
| 15' | 24 | 3 sections | 4 blocks per side × 3 sections |
| 20' | 32 | 4 sections | 4 blocks per side × 4 sections |
| 25' | 40 | 5 sections | 4 blocks per side × 5 sections |
| 30' | 48 | 6 sections | 4 blocks per side × 6 sections |
| 35' | 56 | 7 sections | 4 blocks per side × 7 sections |
Permanent Anchors
| Shelter size | Permanent anchors | Number of sections (± 4-5 ft each) | Layout |
|---|---|---|---|
| 8' | 4 | 2 sections | 2 anchors per side × 2 sections |
| 12' | 4 | 3 sections | 2 anchors per side × 3 sections |
| 16' | 4 | 4 sections | 2 anchors per side × 4 sections |
| 20' | 6 | 5 sections | 2 anchors per side × 5 sections |
| 24' | 6 | 6 sections | 2 anchors per side × 6 sections |
| 28' | 8 | 7 sections | 2 anchors per side × 7 sections |
| 32' | 8 | 8 sections | 2 anchors per side × 8 sections |
| 36' | 10 | 9 sections | 2 anchors per side × 9 sections |
| 40' | 10 | 10 sections | 2 anchors per side × 10 sections |
Useful options
Full-closure door: Available on Imperial TAR and Royal models. Helps block wind and snow completely.
Side or rear flaps: Allow you to attach the shelter to a garage or wall to reduce drafts.
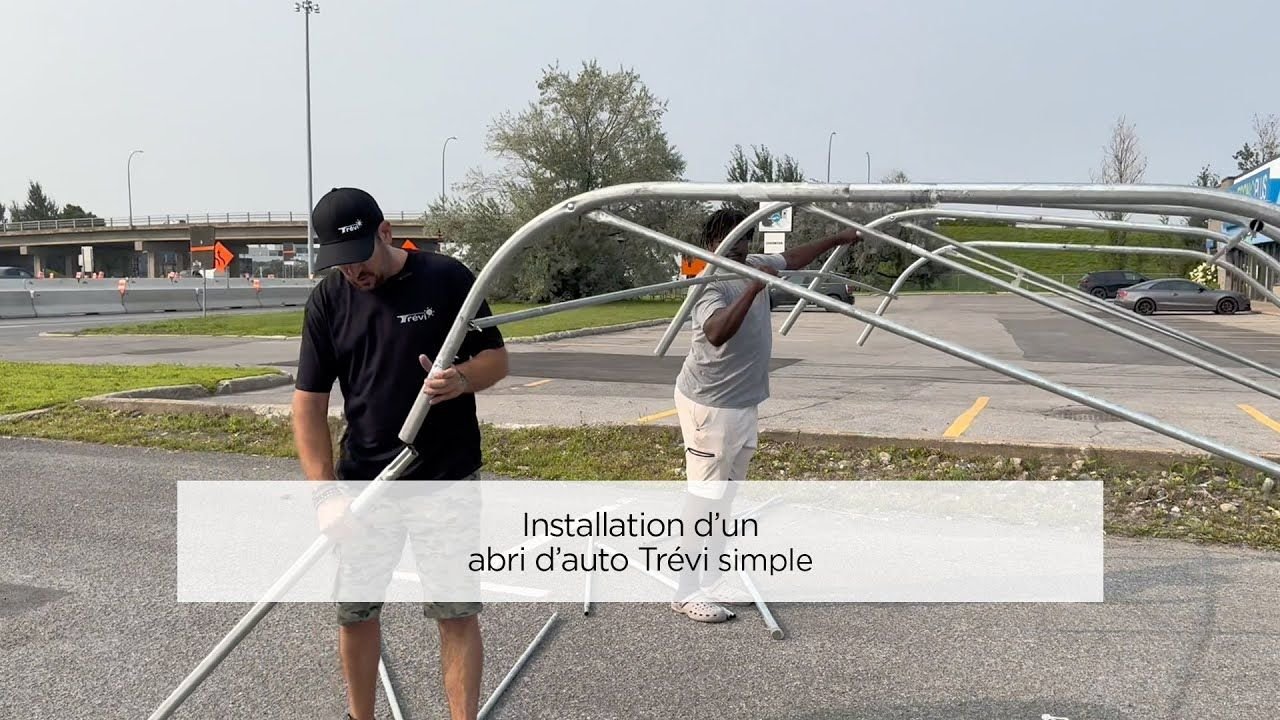
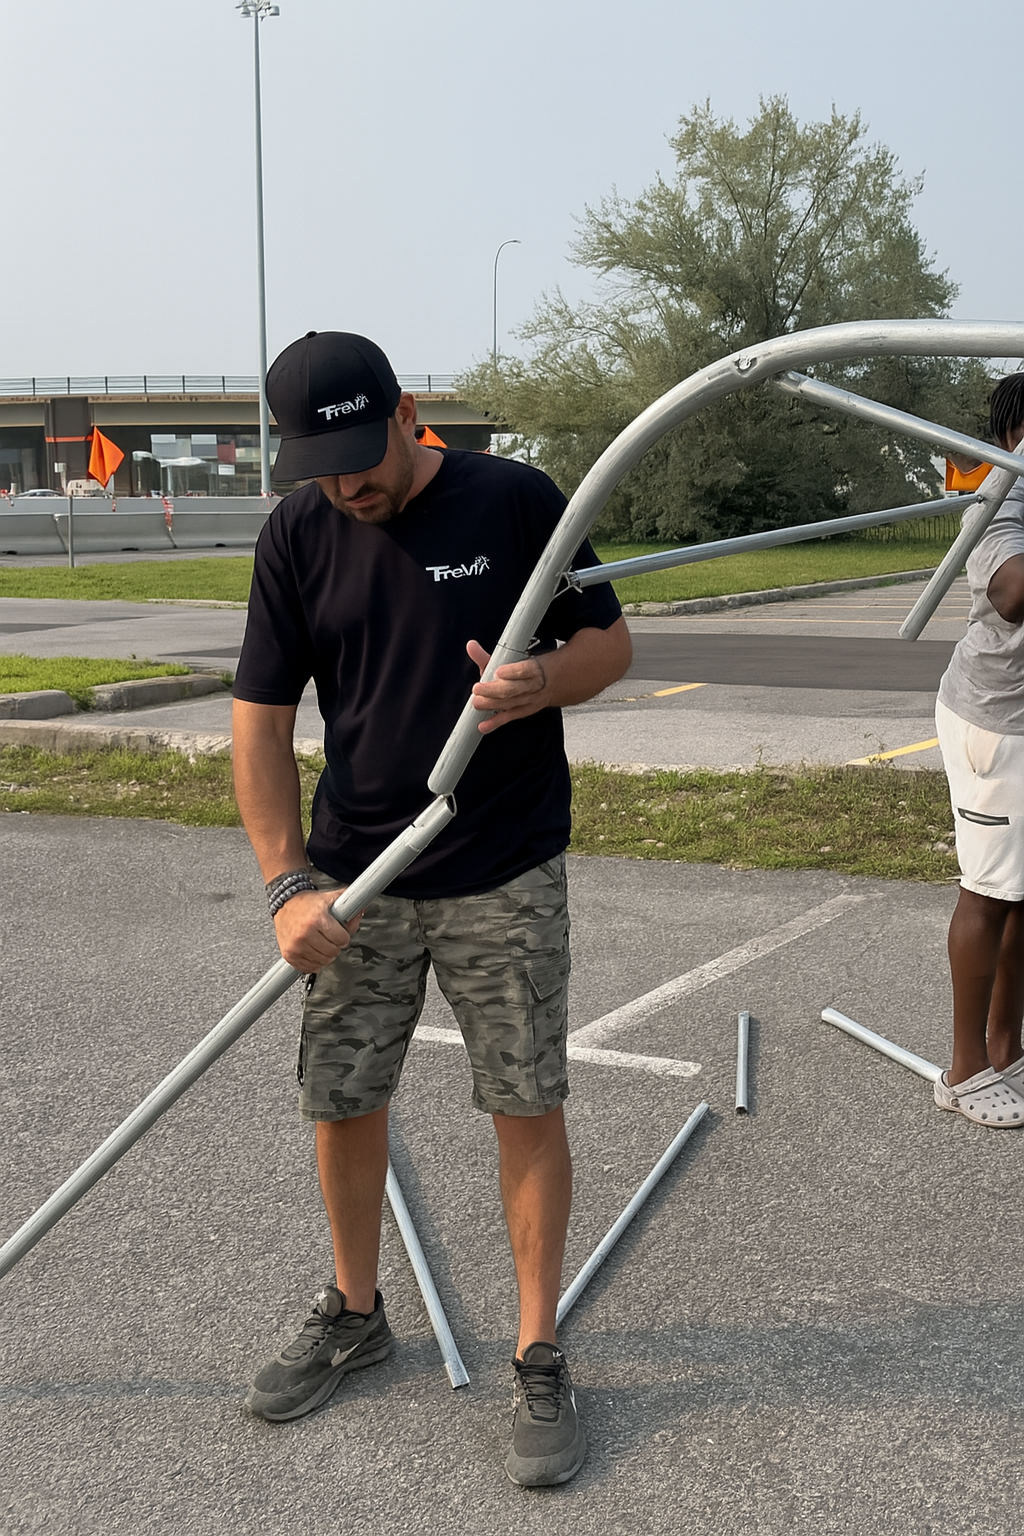
3. Installation
Setting up your shelter is easy with a few tools and some preparation.
DIY Installation


4. Winter Maintenance
Proper maintenance extends your shelter’s lifespan:
- Clear snow regularly, especially after heavy storms.
- Check fasteners: tighten bolts, inspect the fabric.
- Prevent ice buildup, which can add weight to the structure.
5. Taking Down & Storing Your Shelter
At the end of the season:
- Take it down with a partner—it’s quicker and safer.
- Let the cover dry in the sun before storing.
- Store indoors if possible (garage, basement) to prevent mold.
- Sort and group the pipes and pieces to simplify reassembly next year.

6. Municipal Regulations
Each city has its own rules for temporary shelters. Before installing:
- Check your municipality's regulations for allowed installation and removal dates.
- Some cities may also restrict shelter dimensions or placement.
7. Need Replacement Parts?
No need to replace the entire shelter if a part breaks.
- Damaged cover? We offer compatible replacement covers.
- Bent pipe or missing bolt? Order individual parts or kits as needed.
Ready to find your shelter? Browse our full selection of shelters and accessories now.