Spa Opening Guide
Is your spa already open?
Safety and Equipment
Get Equipped
- Gloves
- Safety glasses
- Garden hose
- Clean bucket
- Brush
- Specialized cleaners
- Test strips or test kit
- Disinfectant
- Balancing products
- Filter cartridges
Before Any Handling ⚠️
Make sure the power at the circuit breaker is turned off.
Need a hand?

Quick Spa Inspection (Dry)
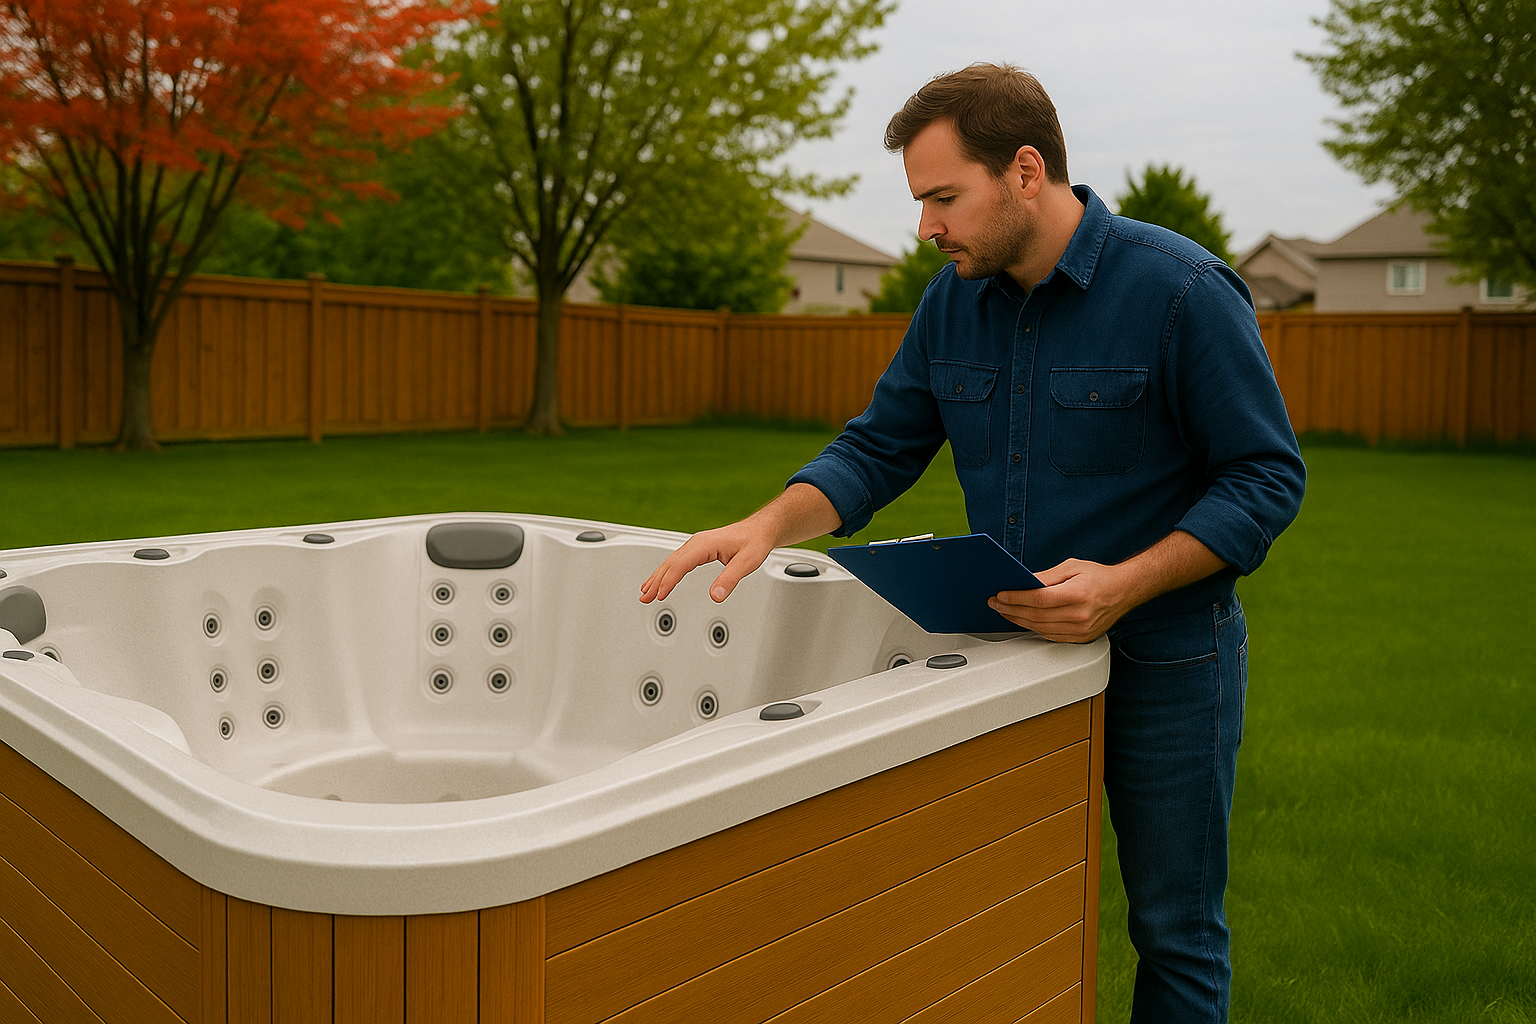

- Cover & Skirt: check for cracks, deformations, and water saturation.
- Shell & Basin: look for cracks, swelling, and detached seals.
- Accessible Plumbing: inspect pipes and fittings for any cracks.
- Drains & Plugs: make sure frost plugs are removed and the drain is properly secured.
- Pumps, Jets, Valves: ensure they are free of ice and debris (do not power on).
- Electrical: test the GFCI breaker (test/reset while off).
Maintenance and Repairs
2. Clean and Install Accessories
- Wipe the spa shell with a gentle spa cleaner, then rinse.
- Clean the waterline (foam line) if visible from the previous season.
- Rinse the filter compartments to remove leaves and sand.
- Filling (to prevent air pockets)
- Fill through the filter compartment (or suction inlet) to help purge air from the pumps.
- Monitor the water level and bring it up to the manufacturer’s recommended mark.
- While filling, inspect around the spa for leaks (seepage or drips).
- If you find a leak → note its location and do not power on until it is fixed (freezing may have cracked a fitting).

Maintenance Products
Everything you need for a clean and well-maintained spa.
3. Power On & Air Purge
- Restore power.
- Using the control panel, test each pump at speed 1, then speed 2.
- Open all valves and fountains, and run pumps, jets, and fountains together for a few minutes to purge the air.
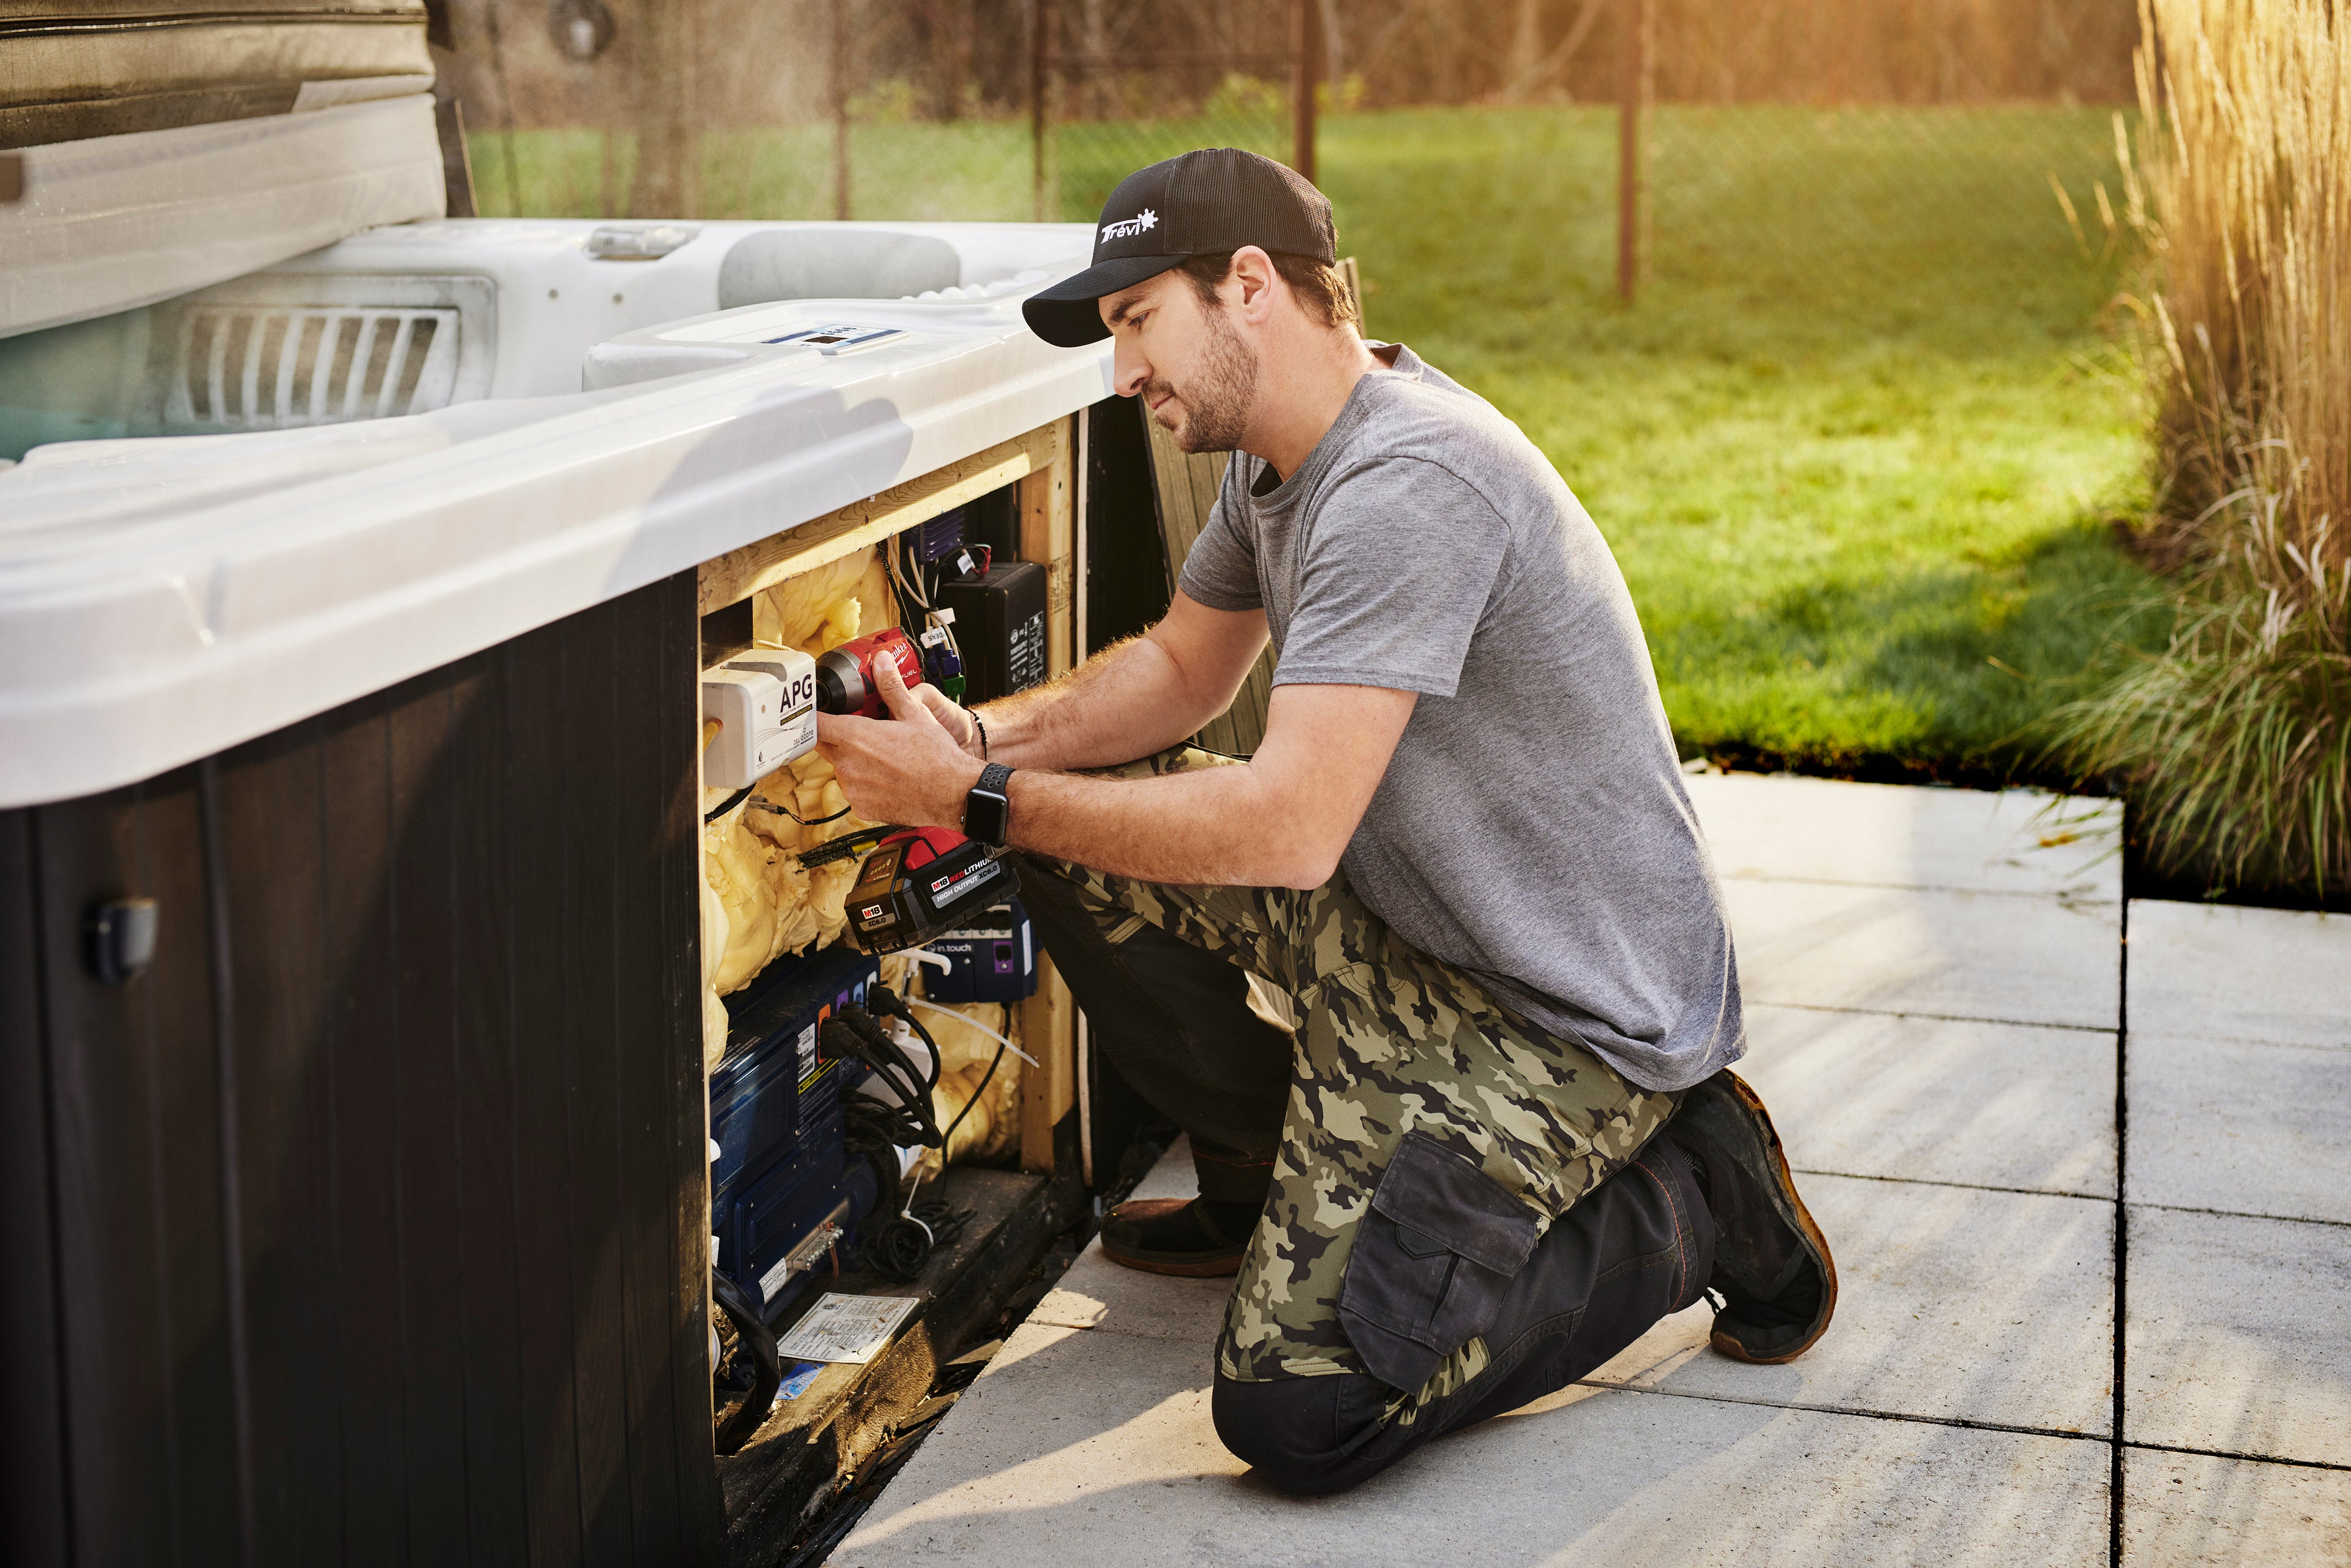
Spa Pump Not Working: Quick Steps
Check the control panel: is an error code displayed?
Turn off and then restore power at the breaker (GFCI) to restart the spa.
No sound when trying to start the pump?
The pump fuse may need to be replaced.
After replacing the fuse, do you hear the pump straining or humming?
Repair is required (call a technician).
4. Filter: Opening Strategy
Spa Cartridges
5. Water Chemistry
The goal is to balance the water, start the sanitizer, and then fine-tune.
- Initial Test (test strip or kit) once the water is at temperature:
- Total Alkalinity (TA): typically 100–150 ppm (depending on your sanitizer).
- Calcium Hardness (CH): ideally 100–200 ppm (prevents corrosion and scale).
- Adjustment Order: TA → pH → CH (TA adjustments affect pH).


Perfect water, every time.
6. Désinfectant
- Démarrez votre désinfectant (brome ou chlore) selon les recommandations du fabricant.
- Pour un départ propre, un traitement choc adapté au désinfectant utilisé peut aider à oxyder les matières organiques résiduelles.
- Faites circuler 24 h avec les jets ouverts; brossez la coquille et nettoyez l’écumoire.
- Re-testez et affinez pH/alcalinité/désinfectant.
- Astuce : pendant cette phase “sale”, rincez les cartouches plus souvent (même quotidiennement si l’eau était trouble au départ). Remplacez par le set plus récent une fois que l’eau est claire et stable.
7. Functional System Checks

Even water flow, adjustable jets move freely.

Ensure smooth operation with no stiffness or squeaking.

Strong, steady flow with no unusual splashing.
Turns on without flickering.

Gradual temperature increase; no error codes.

No excessive vibration or cavitation noise.
48–72 h après l’ouverture
- Nouvelle analyse complète (TA/pH/CH/désinfectant).
- Nettoyage/remplacement des cartouches : passez au set plus récent si l’eau est claire et les paramètres stables.
Plan d’entretien : Guide d’entretien du spa
- Tester 2–3×/semaine (pH/désinfectant).
- Rincer les filtres chaque semaine, nettoyage en profondeur mensuel.
- Changer l’eau tous les 3–4 mois (selon usage et TDS).
Problèmes fréquents & solutions rapides
- Aucune circulation / erreur pompe : air dans la ligne → purge; vérifier que les valves sont ouvertes.
- Fuite visible : localisez; coupez l’alimentation; appelez un pro si la fuite persiste.
- Eau trouble : choc + filtration continue 24 h; rincez filtres; rééquilibrez pH/TA.
- Odeur forte/chlore qui pique : souvent chloramines → oxydez (choc) et ventilez.
- GFCI qui saute : humidité dans boîtier, élément défectueux, fuite à la terre → technicien recommandé.
When to Call a Professional
- No circulation / pump error: air in the line → purge; check that all valves are open.
- Visible leak: locate it; turn off power; call a professional if the leak persists.
- Cloudy water: shock treatment + continuous filtration for 24 h; rinse filters; rebalance pH and alkalinity (TA).
- Strong odor / chlorine sting: usually chloramines → shock oxidize and ventilate.
- GFCI trips: moisture in the box, faulty element, ground fault → technician recommended.

FAQ
As soon as the risk of frost has passed and you can safely test with power on.
No. The most important steps are to balance the water, start the sanitizer, and shock treat if needed.
This helps reduce air pockets in the pumps, prevents cavitation noise, and avoids flow errors.
Start with your older set of filters to capture impurities, then switch to the newer set once the water is clear and stable.
Watch the spa skirt and floor during and after filling; look for drips or leaks around the fittings.


Everything for your pool and spa maintenance, online.
Get free access to our courses, practical guides, and online water analysis tool to keep your water clear and healthy all summer long.