In-Ground or Built-In Pool Closing Guide
Incluant le modèle Futura
The swimming season is over, and it's time to think about closing your pool for winter. A proper closing is essential to protect your investment and ensure a smooth reopening in the spring. This guide will walk you through the different steps to properly winterize your pool.
Not ready to close your pool just yet?
Keep everything handy when closing your pool
Print the guide and end-of-season checklist to make sure you don’t forget anything.
Key tips for closing your pool properly
- Close as late in the season as possible.
- Gather all necessary equipment: These items are available on their website or in store.
- Ensure that the water is balanced and clean: Remove all leaves. If leaves fall after closing, you can use a leaf skimmer by connecting it to a garden hose, as the filtration system does not need to be running.
Comment fermer votre piscine creusée ou semi-creusée pour l'hiver
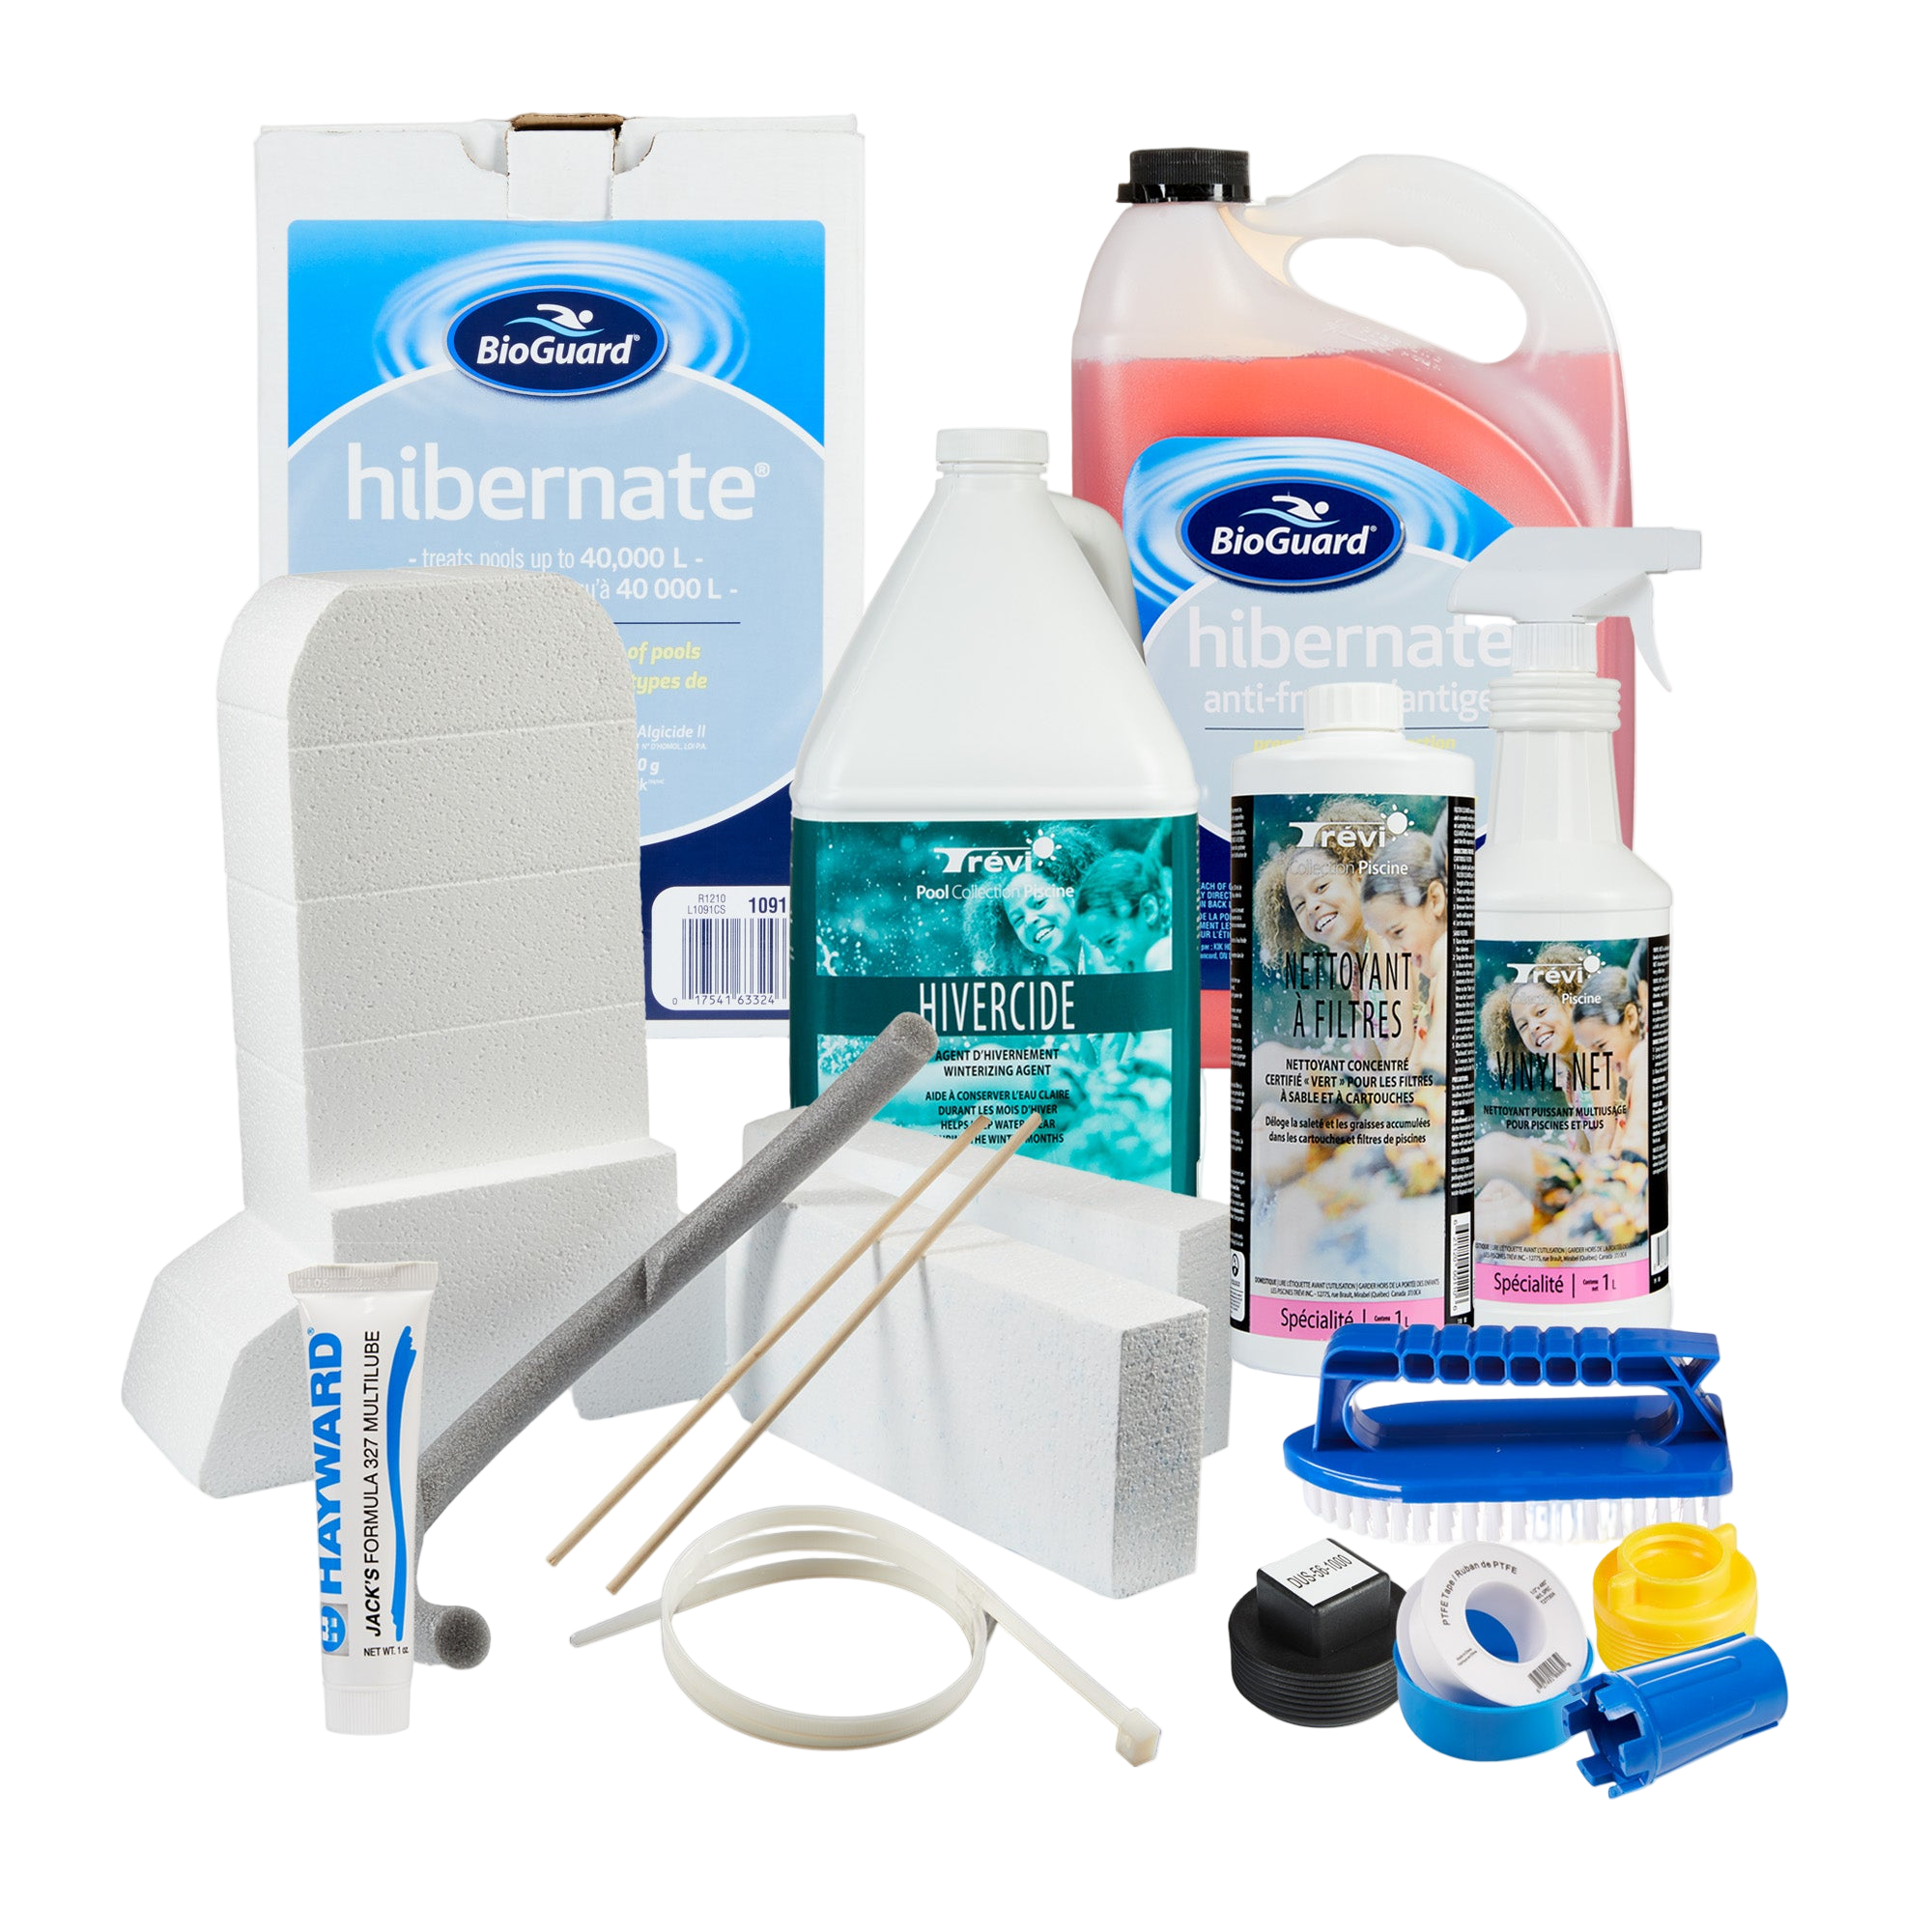
1. The closure kit: your best ally
Closing kits and sets
Choose the solution that's right for your pool.
- Closing kit: only the essential chemicals for winterization.
- Closing set: chemicals + winterization items (plugs, skimmer cover, inflatable tube, etc.).
Compatible with all types of pools and sanitation systems. Close your pool with peace of mind!
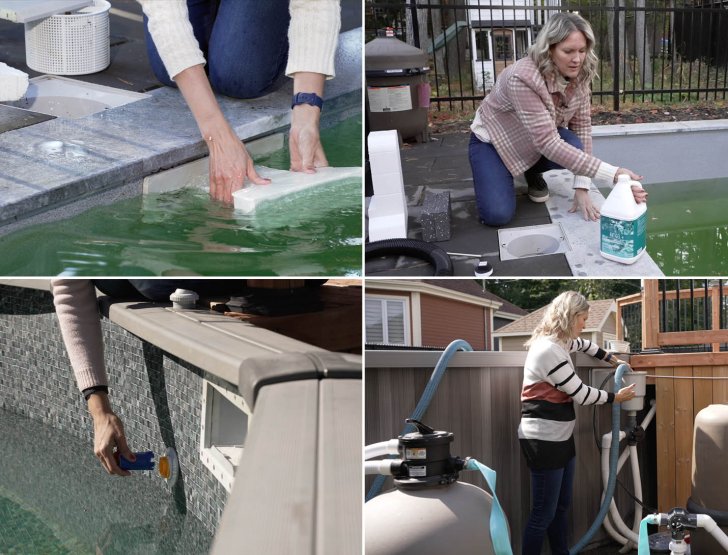
2. Pre-closure preparations
For a smooth transition into winter, a few preliminary checks and maintenance tasks are crucial.
Inspect Your Equipment
Check your pool and equipment for any leaks or issues. Repair any damage before winter to avoid more significant problems in the spring.
Balance the Water
Before closing, make sure the pool water is clean and properly balanced. Remove any excess leaves or debris.
Keep the Pump Running
Keep your pool's motor running until the very last moment of closing. This allows water to continue circulating through all the pipes and equipment.
Contact Your Insurer
Make sure your pool is included in your home insurance policy for peace of mind during the winter.
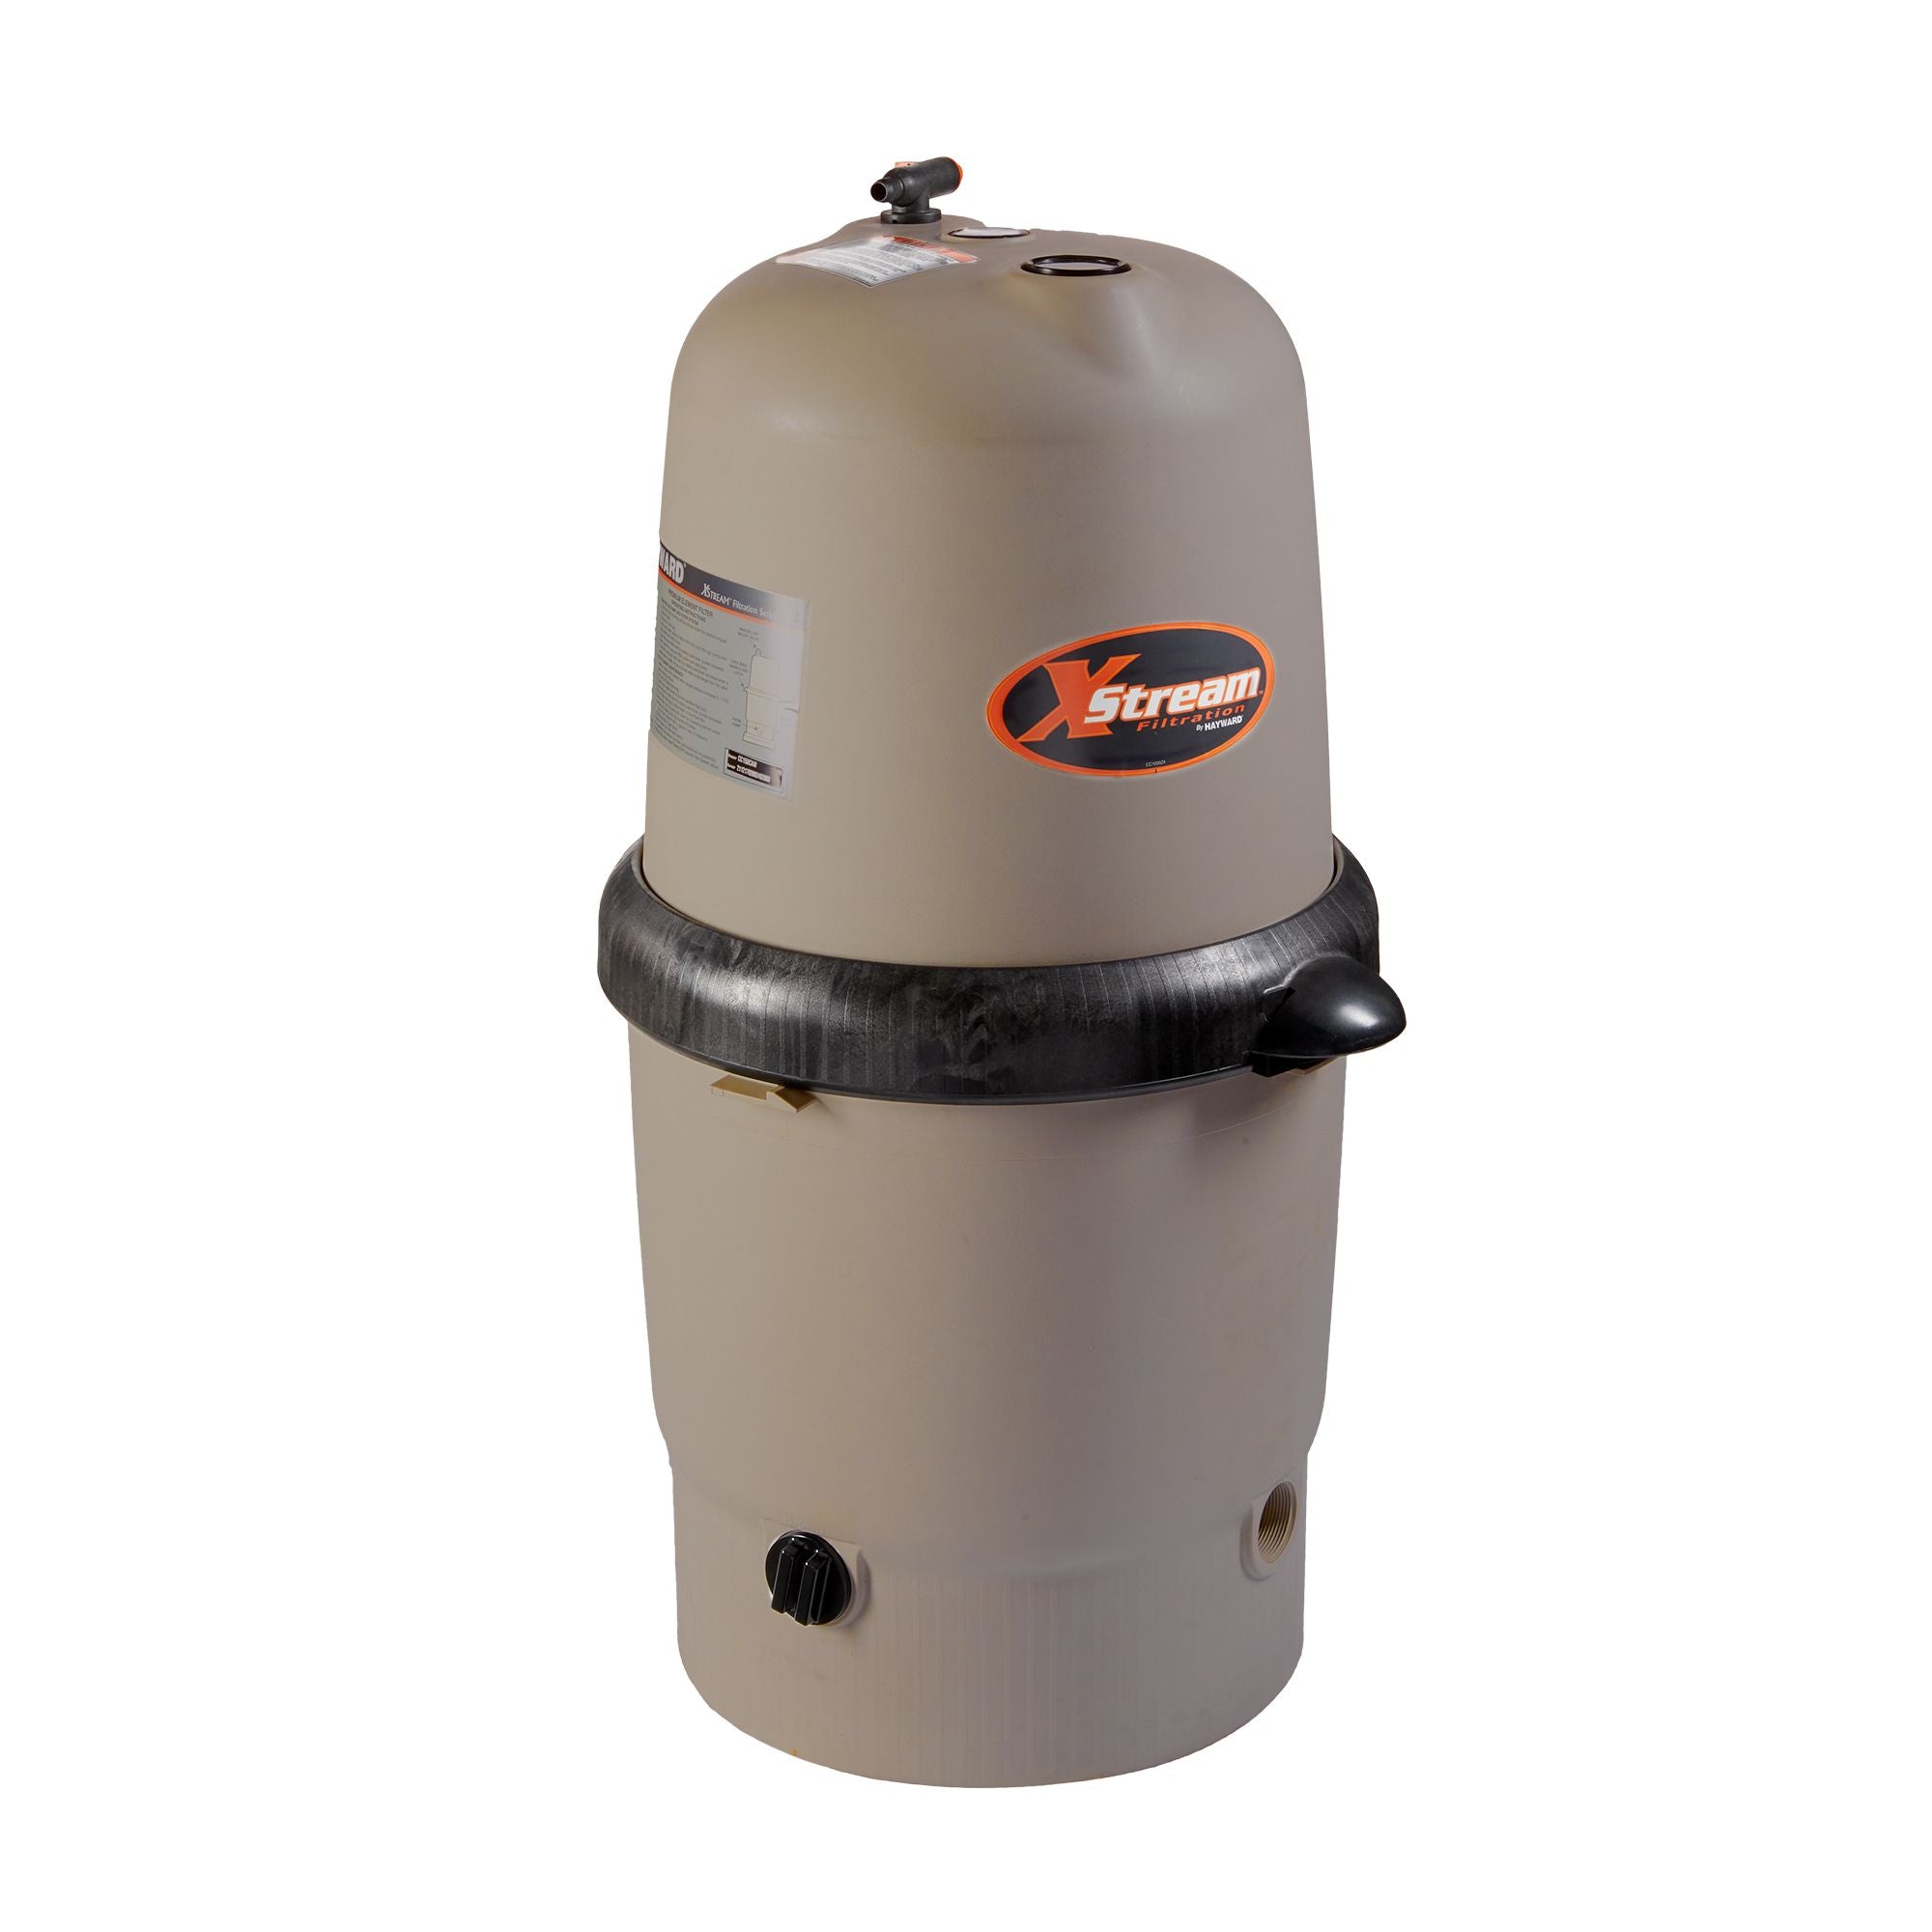
3. Cleaning the Filter
Cleaning the filter is a crucial step for winterizing and extending the life of your equipment.

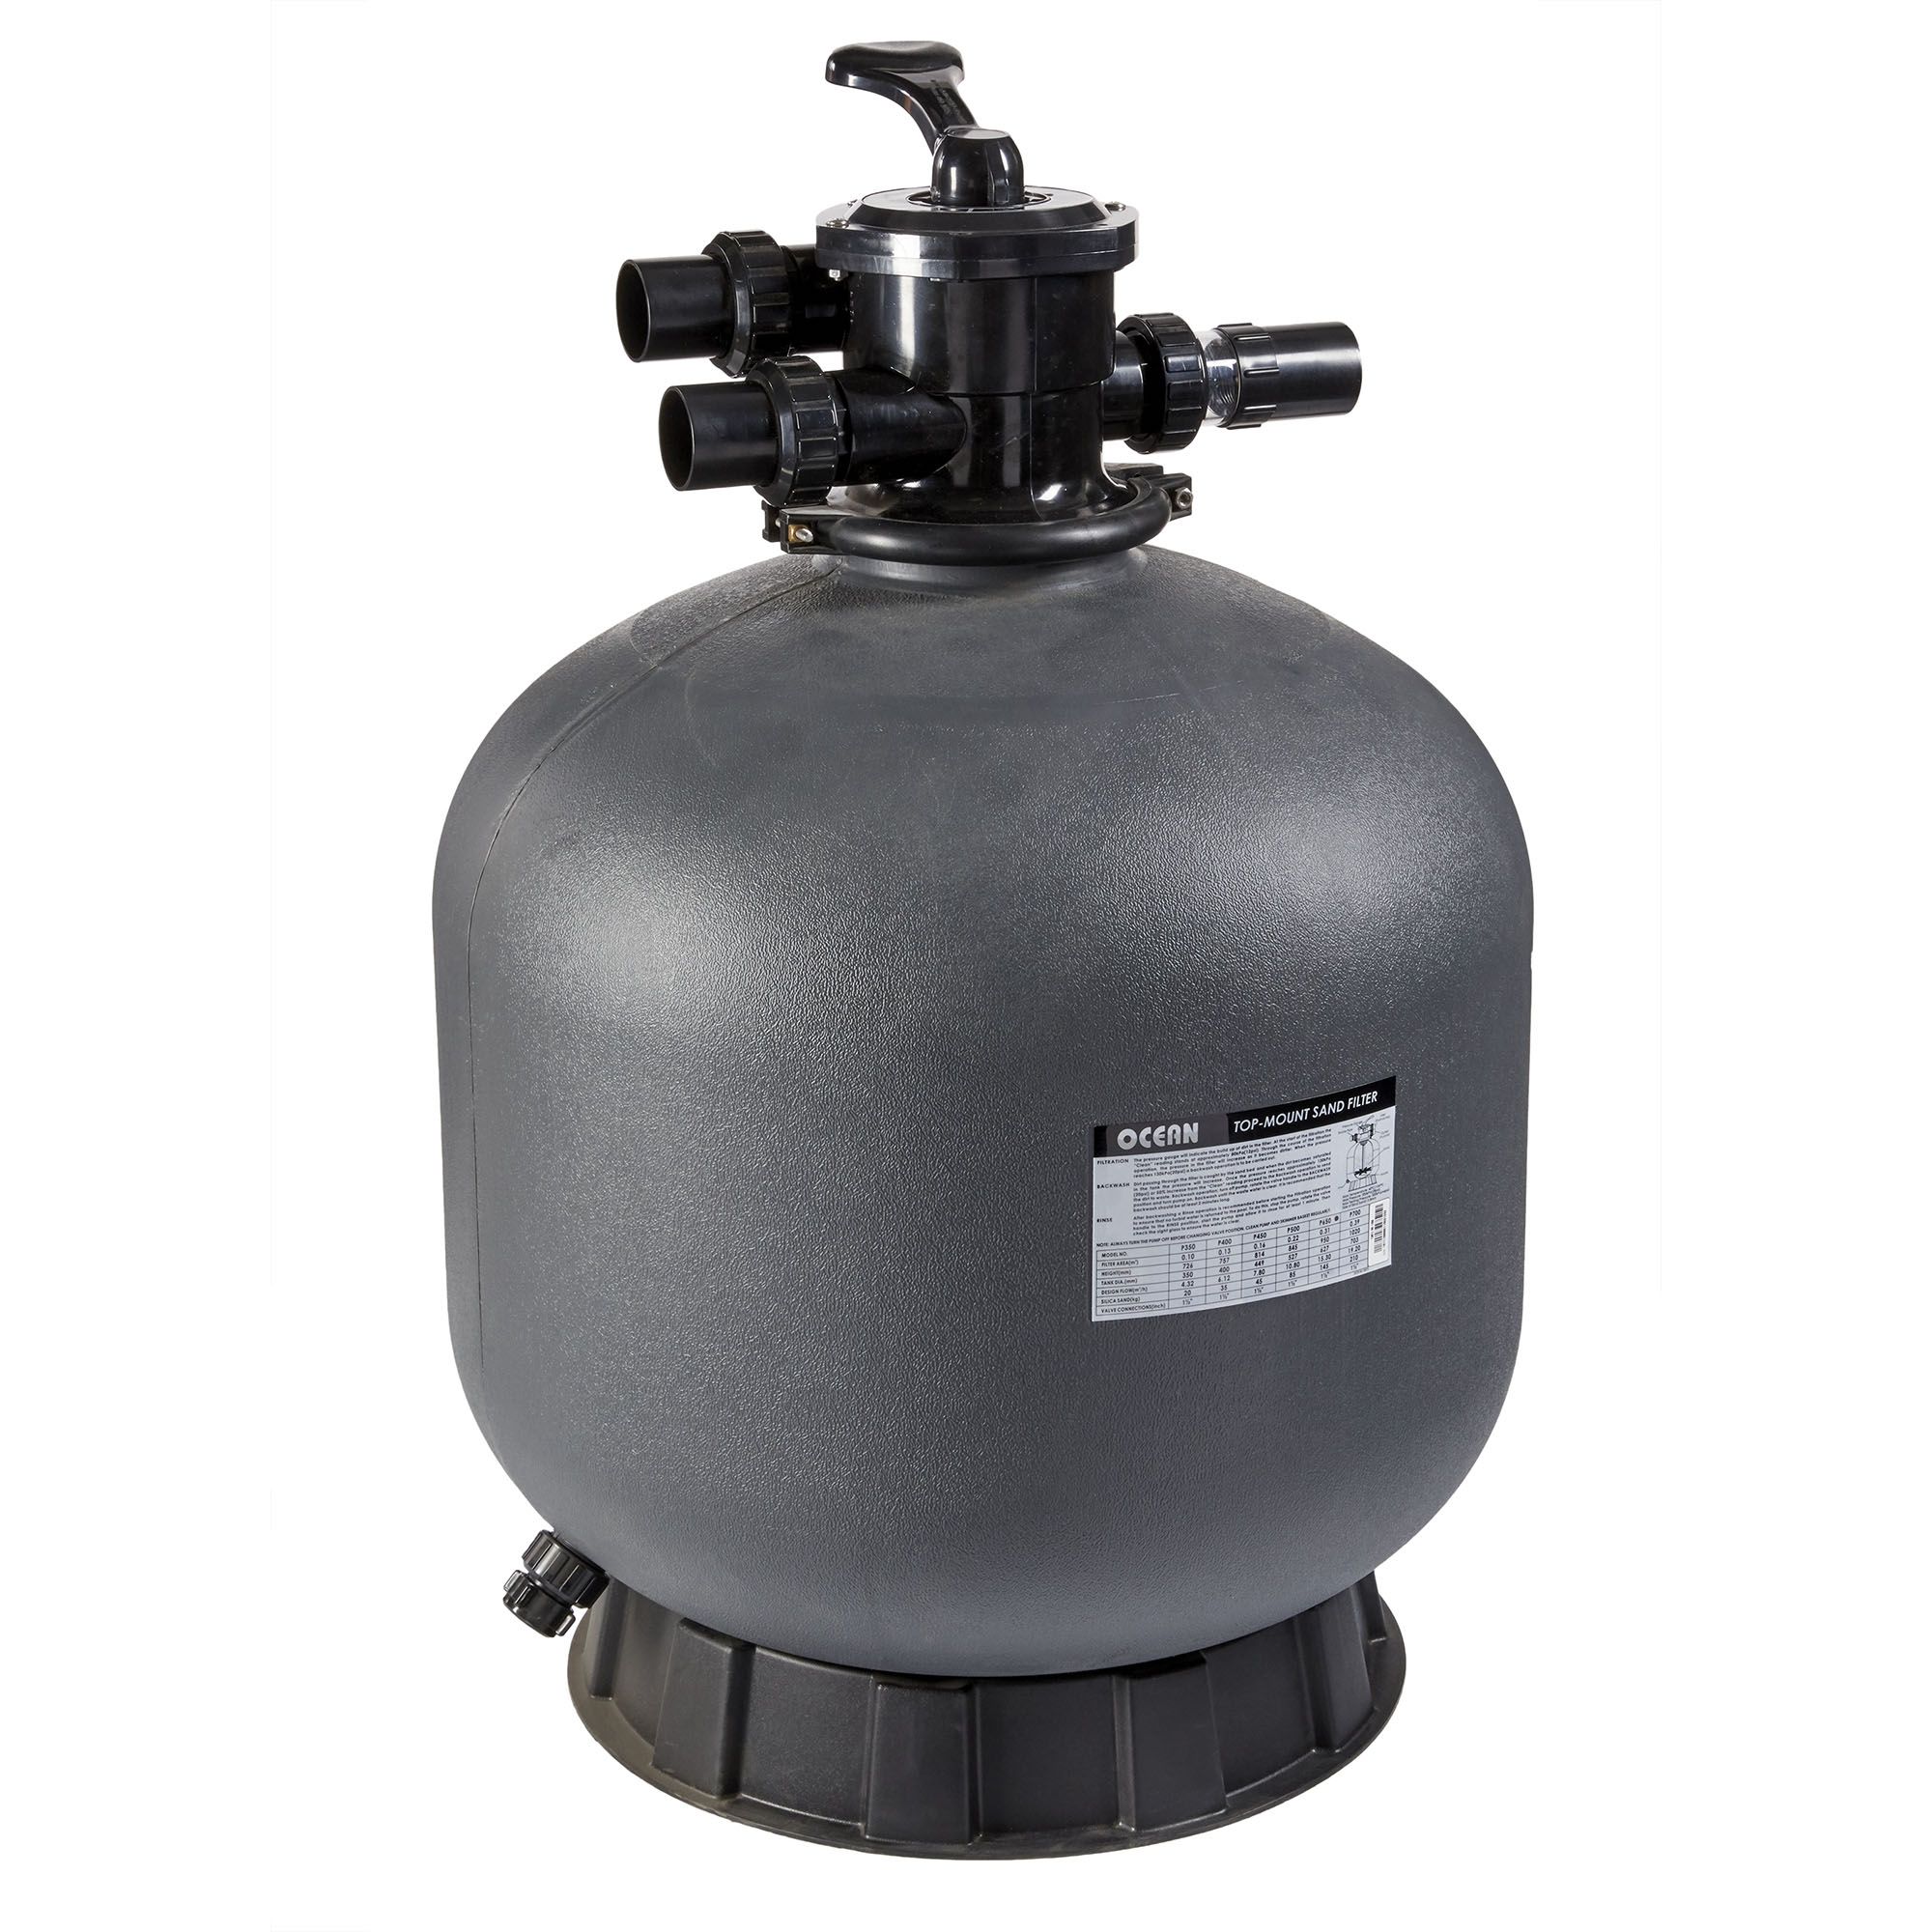
For Sand Filters
- Clean the filter with Trévi filter cleaner. Pour the product into the skimmer with the pump off.
- Turn the pump on and wait for the pink product to circulate and disappear from the pump's transparent lid. Then, turn the pump off.
- Let the product sit for 24 hours to clean the sand.
- After 24 hours, set the filter handle to "backwash" and turn on the pump. Wait for the pink product to disappear from the sight glass to complete the cleaning.
For Cartridge Filters
- Turn off the pump and open the valve on top of the filter to allow air in and water to drain.
- Remove the cartridges and clean them by soaking them in a cleaning product, following the instructions on the package.
- Rinse the cartridges thoroughly and store them for the winter.
- Replace the filter lid and proceed with the next steps.

4. Cleaning the liner / membrane
CLOSING THE POOL
- Clean the pool thoroughly before closing it, taking care not to damage the membrane or liner.
- If you have added chemicals (e.g., granulated chlorine) before closing, let the pump circulate the water for several hours to ensure even distribution. Improper mixing can cause chlorine to accumulate at the bottom of the pool, causing discoloration or damage to the membrane or
liner. - Carefully follow the instructions provided with the closing kits to ensure safe and effective
use.
PROTECTION DURING THE CLOSED SEASON
Outdoor pools can be protected using a suitable cover. This limits the accumulation of debris
(leaves, insects, worms, etc.), which could cause permanent stains or discoloration of the
membrane or liner.
Read the complete maintenance guide
for membranes and liners.
4. Draining the Pool
Lowering the water level is an essential step to protect your skimmer and plumbing from freezing.
5. Draining the Water Lines
This is the most critical step. The water lines must be dried individually to prevent freezing from damaging them.
Dry the Lines
The water lines must be dried individually.
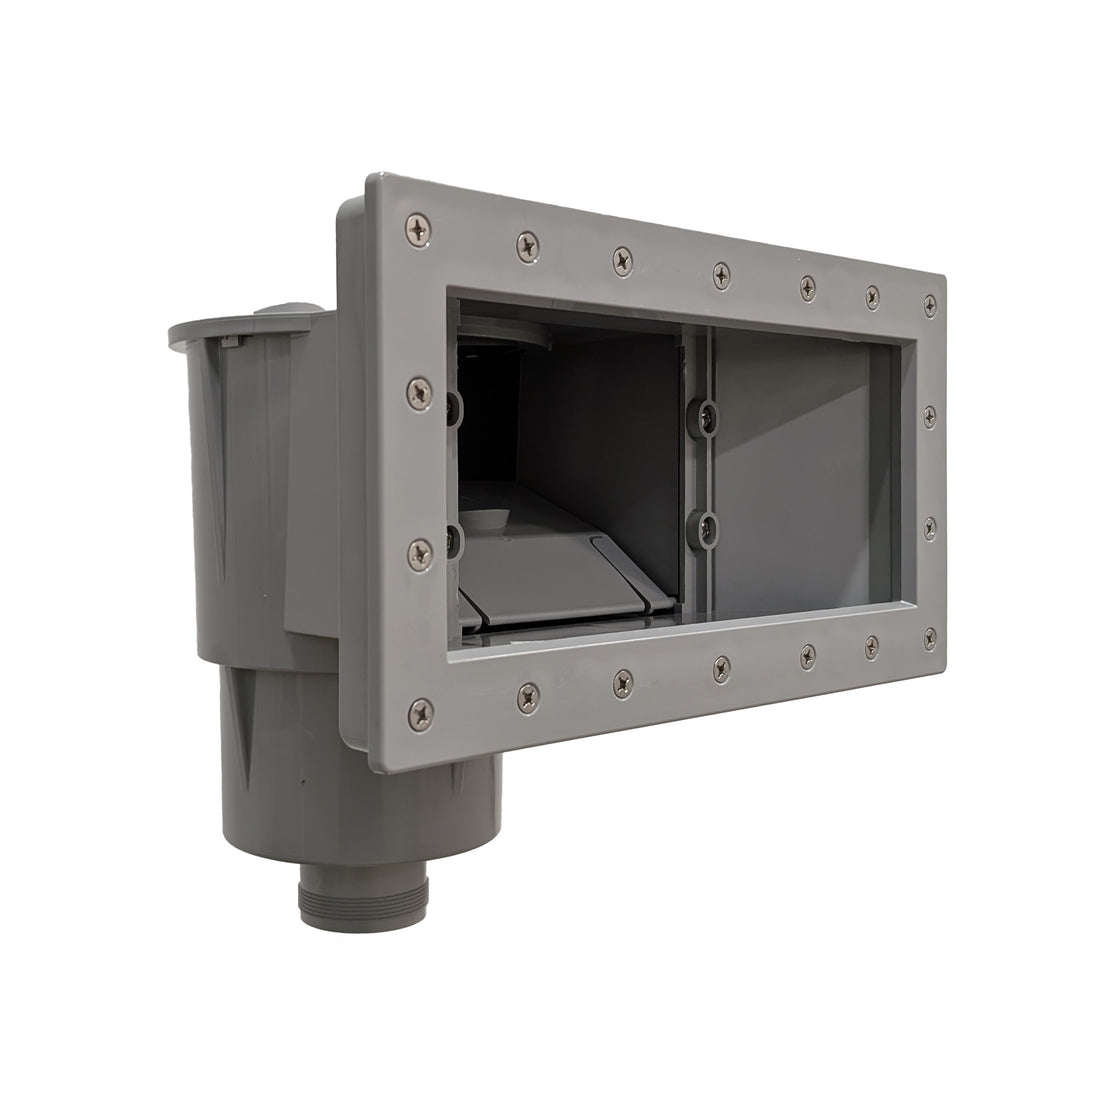
Skimmer Setup
To dry the lines, ensure the skimmer is open by closing the bottom drain with the 3-way valve.
Filter Setup
- For sand filters, set the handle to "recirculation" to avoid resistance from the sand and allow air to pass through.
- For cartridge filters, open the access to the filter and close the backwash valve.
Blow Out the Lines
- Remove the return fittings and plug the closest returns with expansion plugs.
- Using an industrial vacuum with at least 5.5 HP, attach the hose to the skimmer opening.
- Remove the plug from the furthest return and blow out the line until no more water comes out.
- Plug that return and move to the next furthest one, repeating the process.
- Pour a good amount of antifreeze into each return before plugging them for the winter.
6. Preparing Specific Equipment

Close access to the pump by lifting and turning the handle. Blow out the bottom drain line with an industrial vacuum through the skimmer until bubbles come out of the drain for several seconds.
Pour half a gallon of antifreeze directly into the skimmer. Seal the opening with a plug and install styrofoam for the winter.

Drain the pump by removing the drain plugs and store it indoors for semi-in-ground pools.

Un-clip the hoses to drain any residual water. Tilt the unit forward if it doesn't have a drain plug, then tilt it back to pour in antifreeze.

Unplug the power and the flow sensor. Disconnect the cell from the water line and clean it with the recommended product. Store the cell for the winter or reinstall it if you use a replacement hose.

Disconnect the light from the transformer. For wall-mounted lights, you may need to replace the bulb with a safety plug. Store the transformer and lights indoors.
The essentials
7. Final steps and installation of the winter cover
This is the home stretch before putting your pool in winter mode!
Add Winterizing Chemicals
Add the appropriate winterizing kit to your pool water. Choose the kit based on your sanitation system. (See step 2)

Maintenance
Continue to check the water level in the sump pump until the ground freezes.

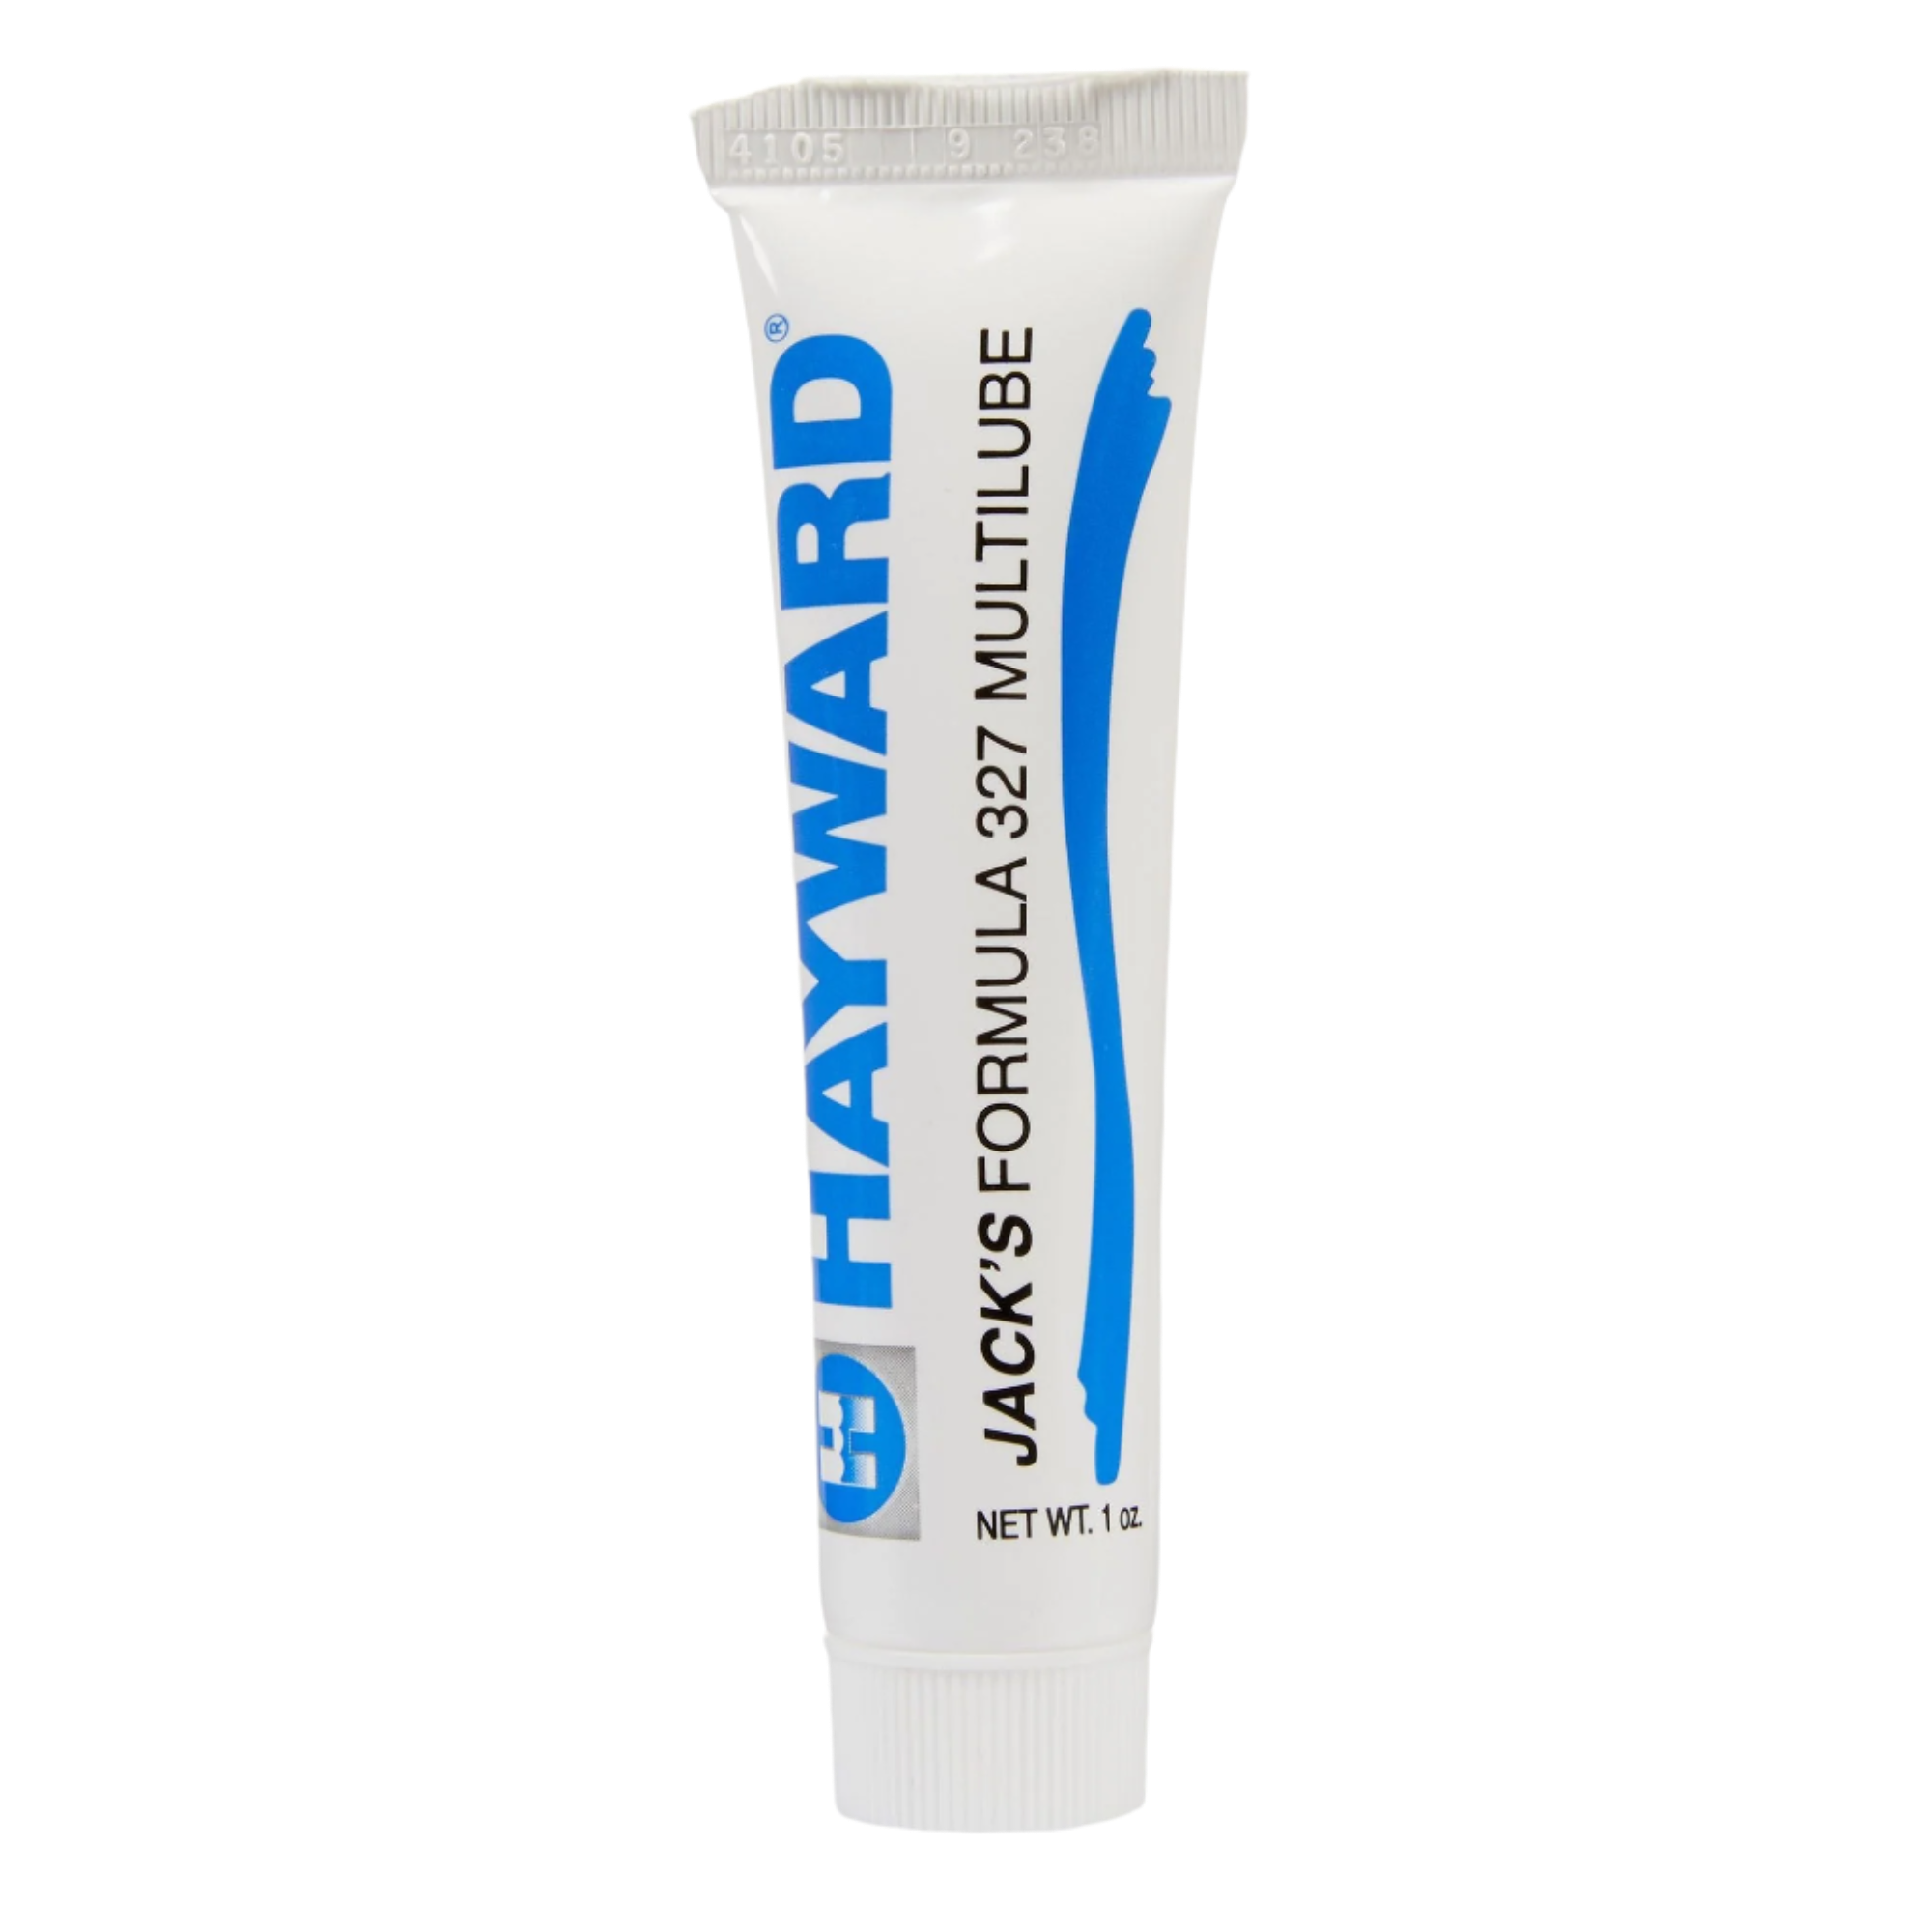
Lubricating Gaskets
Apply a water-based lubricant to any gaskets that were removed or loosened before storing them for winter.
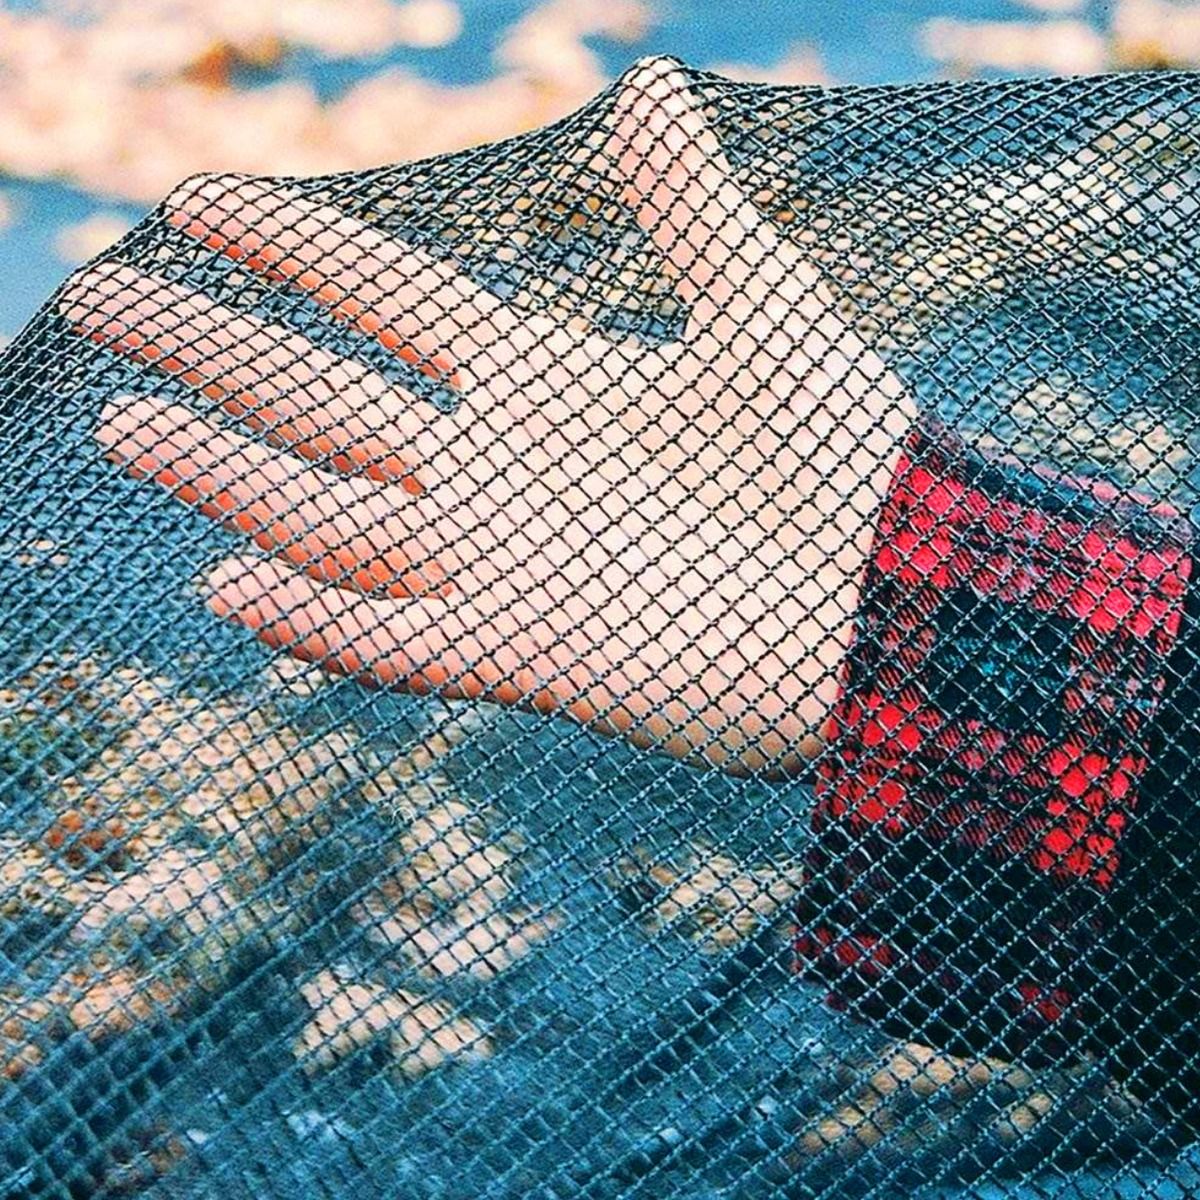
Installing the Winter Cover (Mesh Cover)
- Install the rope all around the perimeter of the pool and tighten it with some resistance using the tensioning tool.
- Install a star-shaped elastic system to support the cover. Each elastic has a hook to attach to the rope around the pool. It's helpful to have a friend assist with this step.
- Place the cover over the elastic system.
- Tighten the clamping frame all around the perimeter of the cover. Stop tightening when you can still lift the cover over a joint cover.
- Periodically check the tension during winter, as the weight of the ice might make it too tight. Loosen the tension slightly if needed to ensure you can still lift the cover over the joint cover.

The essentials
Pool closing service
Don't want to worry about it? Book your pool closing with one of our experts this fall.
Book early to make the most of the season!


Closing courses
In store
Learn how to close your pool from our in-store experts.
Everything for your pool and spa maintenance, online.
Get free access to our courses, practical guides, and online water analysis tool to keep your water clear and healthy all summer long.

