Above-ground pool closing guide
The summer season is coming to an end, and it's time to think about closing your above-ground pool for winter. A proper closing is essential to protect your investment and ensure a smooth reopening in the spring. This guide will walk you through the different steps, providing the necessary tips to properly winterize your pool.
Not ready to close your pool just yet?
Keep everything handy when closing your pool
Print the guide and end-of-season checklist to make sure you don’t forget anything.
Key tips for closing your pool properly
- Close as late in the season as possible.
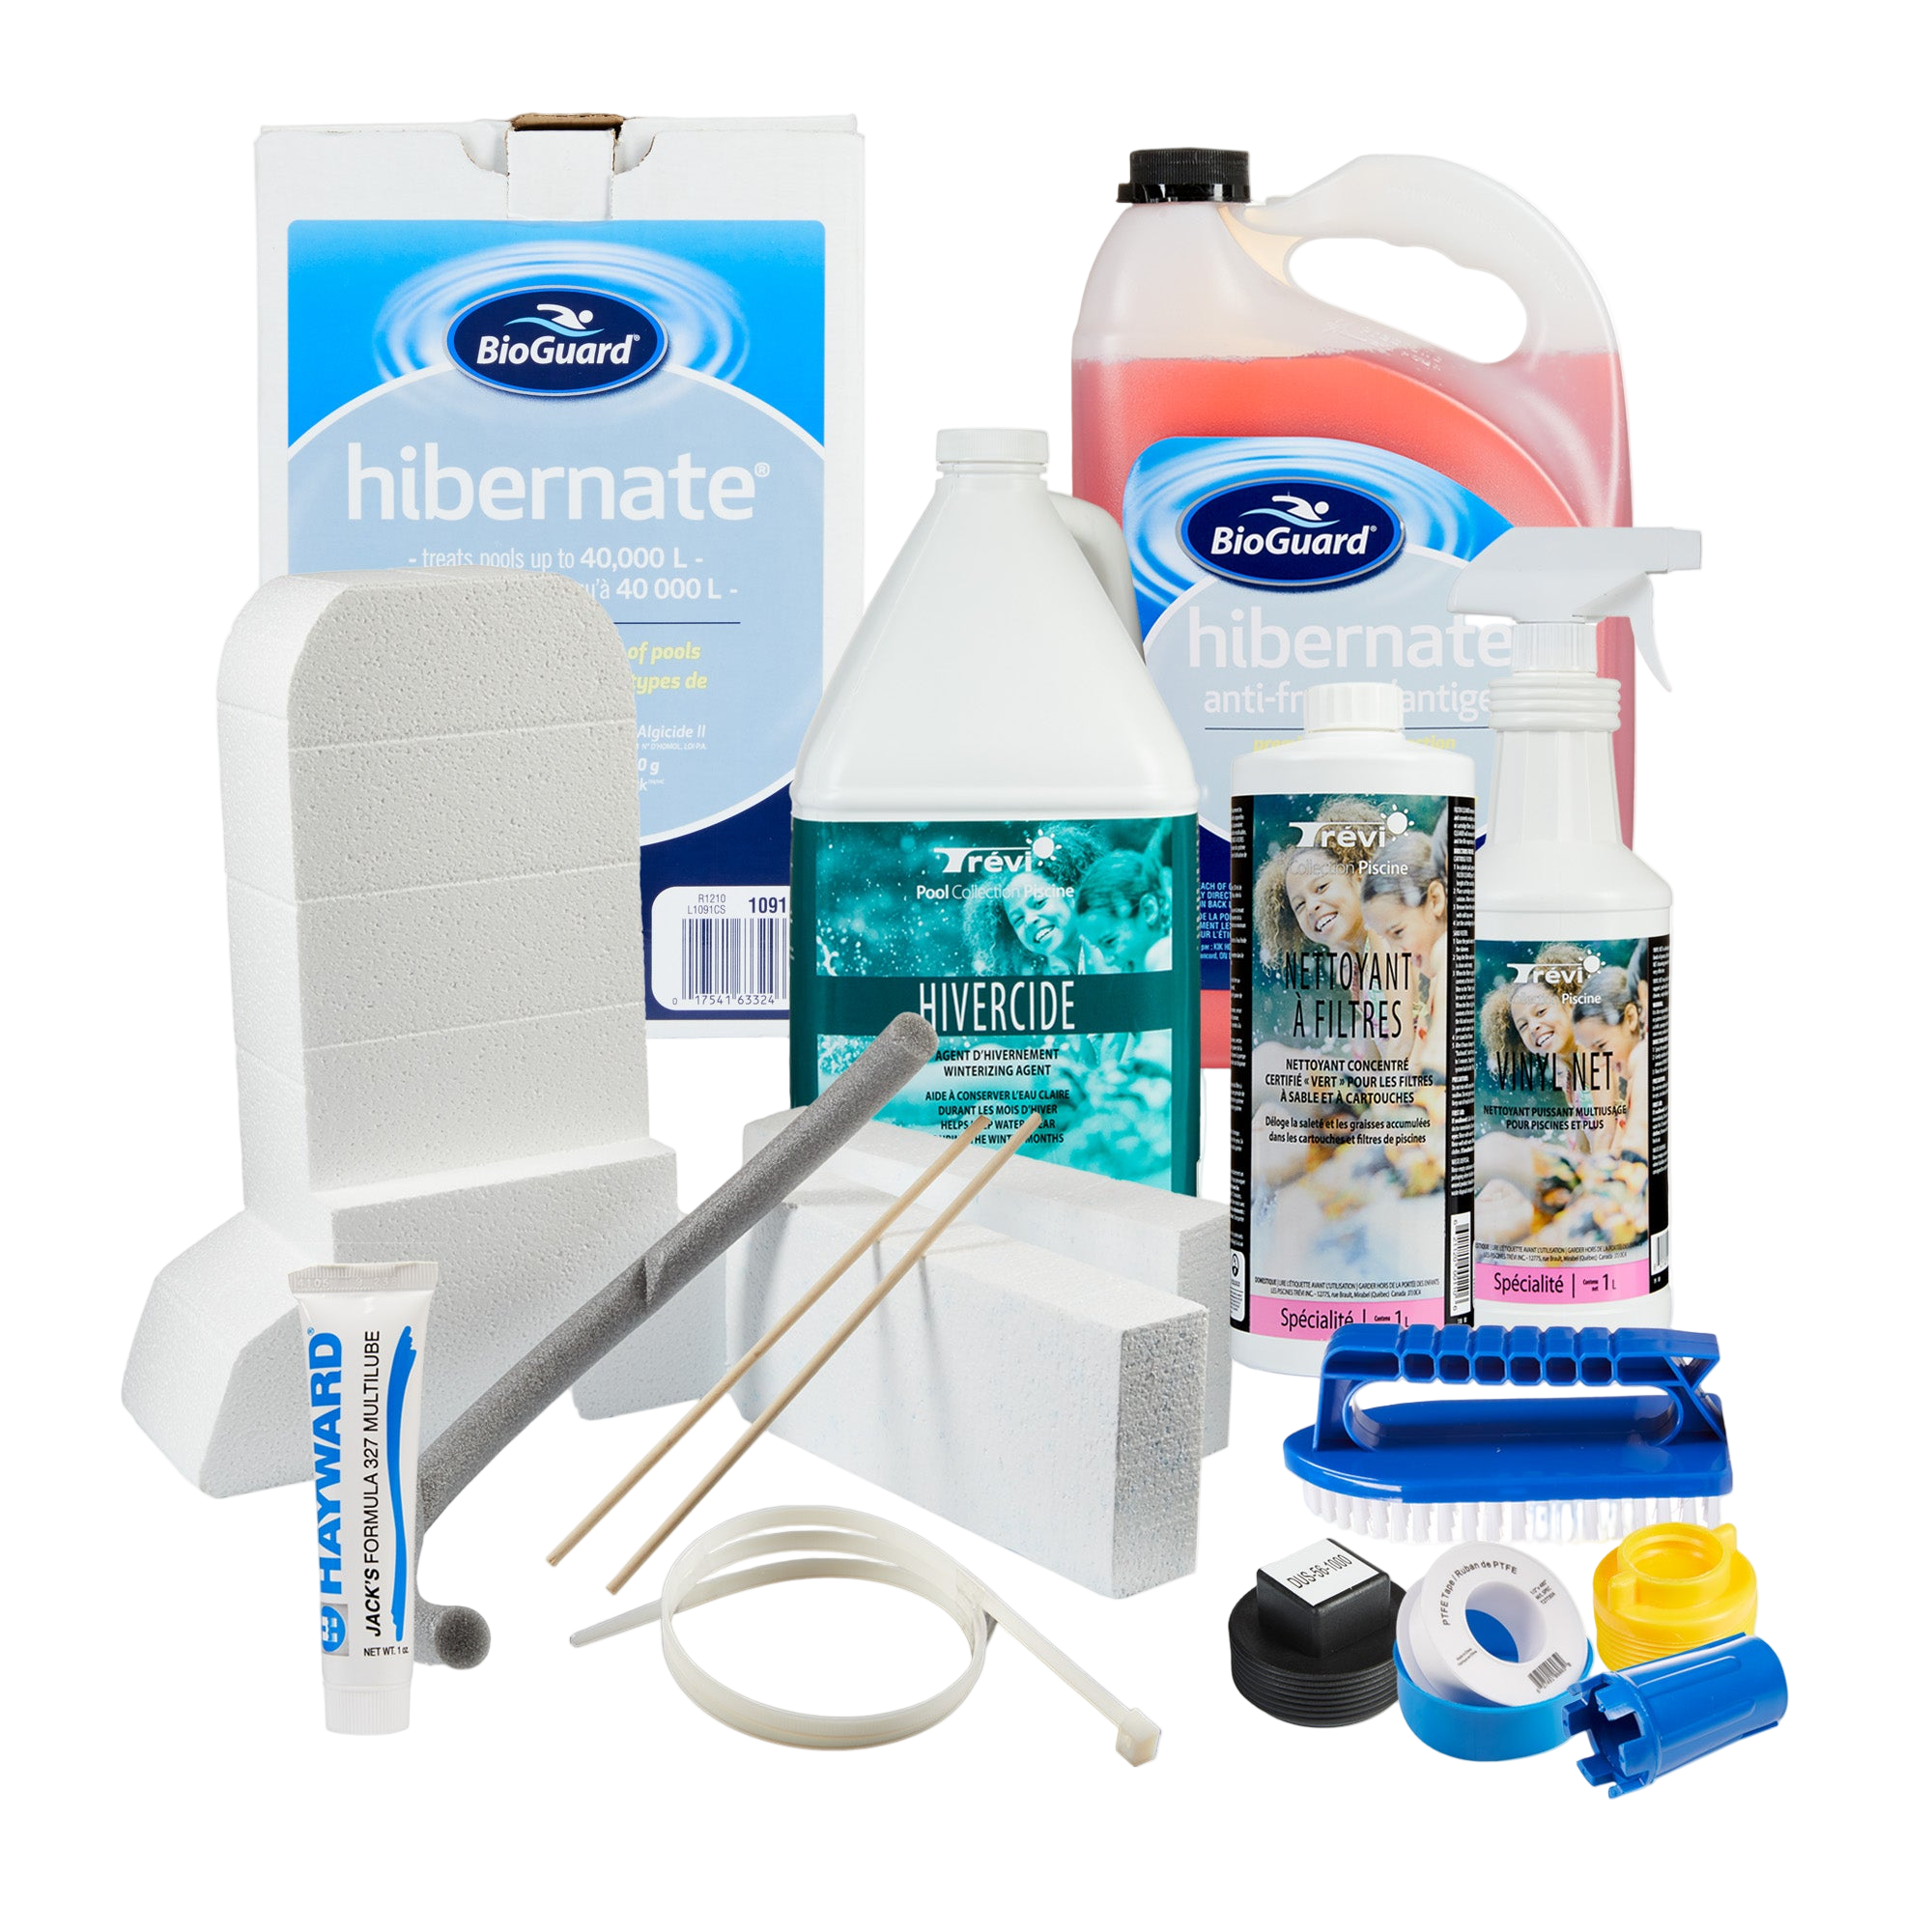
- Gather all necessary equipment: These items are available on their website or in store.
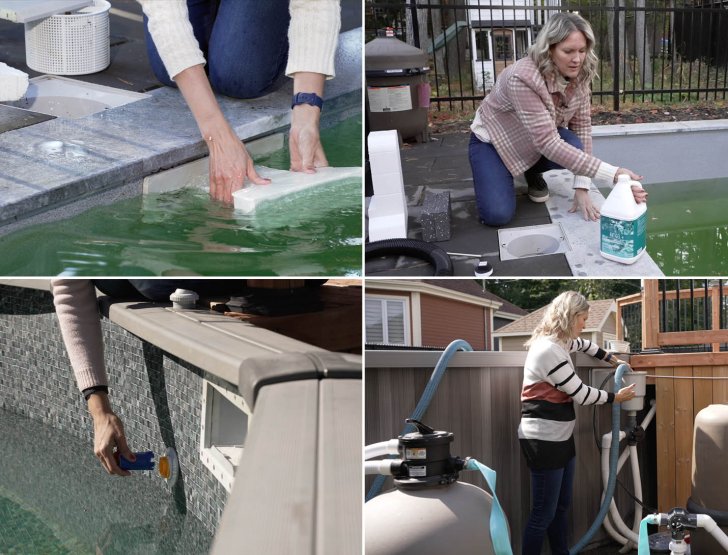
- Ensure that the water is balanced and clean: Remove all leaves. If leaves fall after closing, you can use a leaf skimmer by connecting it to a garden hose, as the filtration system does not need to be running.
Prepare your pool for winter with peace of mind thanks to our comprehensive closing guide.
These steps are not all completed in a single day. It is a process that takes place over several days.
Follow each step in the video and discover the essential products for cleaning, balancing, and protecting your pool before the cold season. Prevent frost damage and make opening your pool in the spring easier with our practical advice and professional tools.


Learn how to close your pool from the comfort of your home
How to close your above-ground pool for the winter
1. The closure kit : your best ally
Closure kits and sets
Choose the solution that's right for your pool.
- Closing kit: only the essential chemicals for winterization.
- Closing set: chemicals + winterization items (plugs, skimmer cover, inflatable tube, etc.).
Compatible with all types of pools and sanitation systems. Close your pool with peace of mind!
2. Pre-closure preparations
For a smooth transition into winter, a few preliminary checks and maintenance tasks are crucial.
Leak Inspection
First and foremost, check around your pool for any water leaks and repair them. It's essential that the structure is watertight before winter.
Keep Equipment Running
Keep all your equipment, including the pump, running until the chosen closing date. This prevents water lines from freezing.
Maintain Water Chemistry
Continue to regularly test and adjust your water's pH and alkalinity levels. Closing the pool with healthy water will make opening it in the spring much easier.
Contact Your Insurer
Verify with your insurance provider that your pool is covered under your home's insurable assets.
3. Initial cleaning and removal of accessories
Before handling the filtration system, make sure the pool is free of objects and that removable items are taken out.
- Remove Items from Pool: Take out all forgotten items like toys and thermometers.
- Remove the Pool Ladder: The easiest way to remove the ladder is while you're still in the pool, ideally during your last swim. If you've forgotten, it can be done from the outside, but it will be more challenging.
4. Cleaning the filtration system
Cleaning the filter is a crucial step for winterizing and extending the life of your equipment.

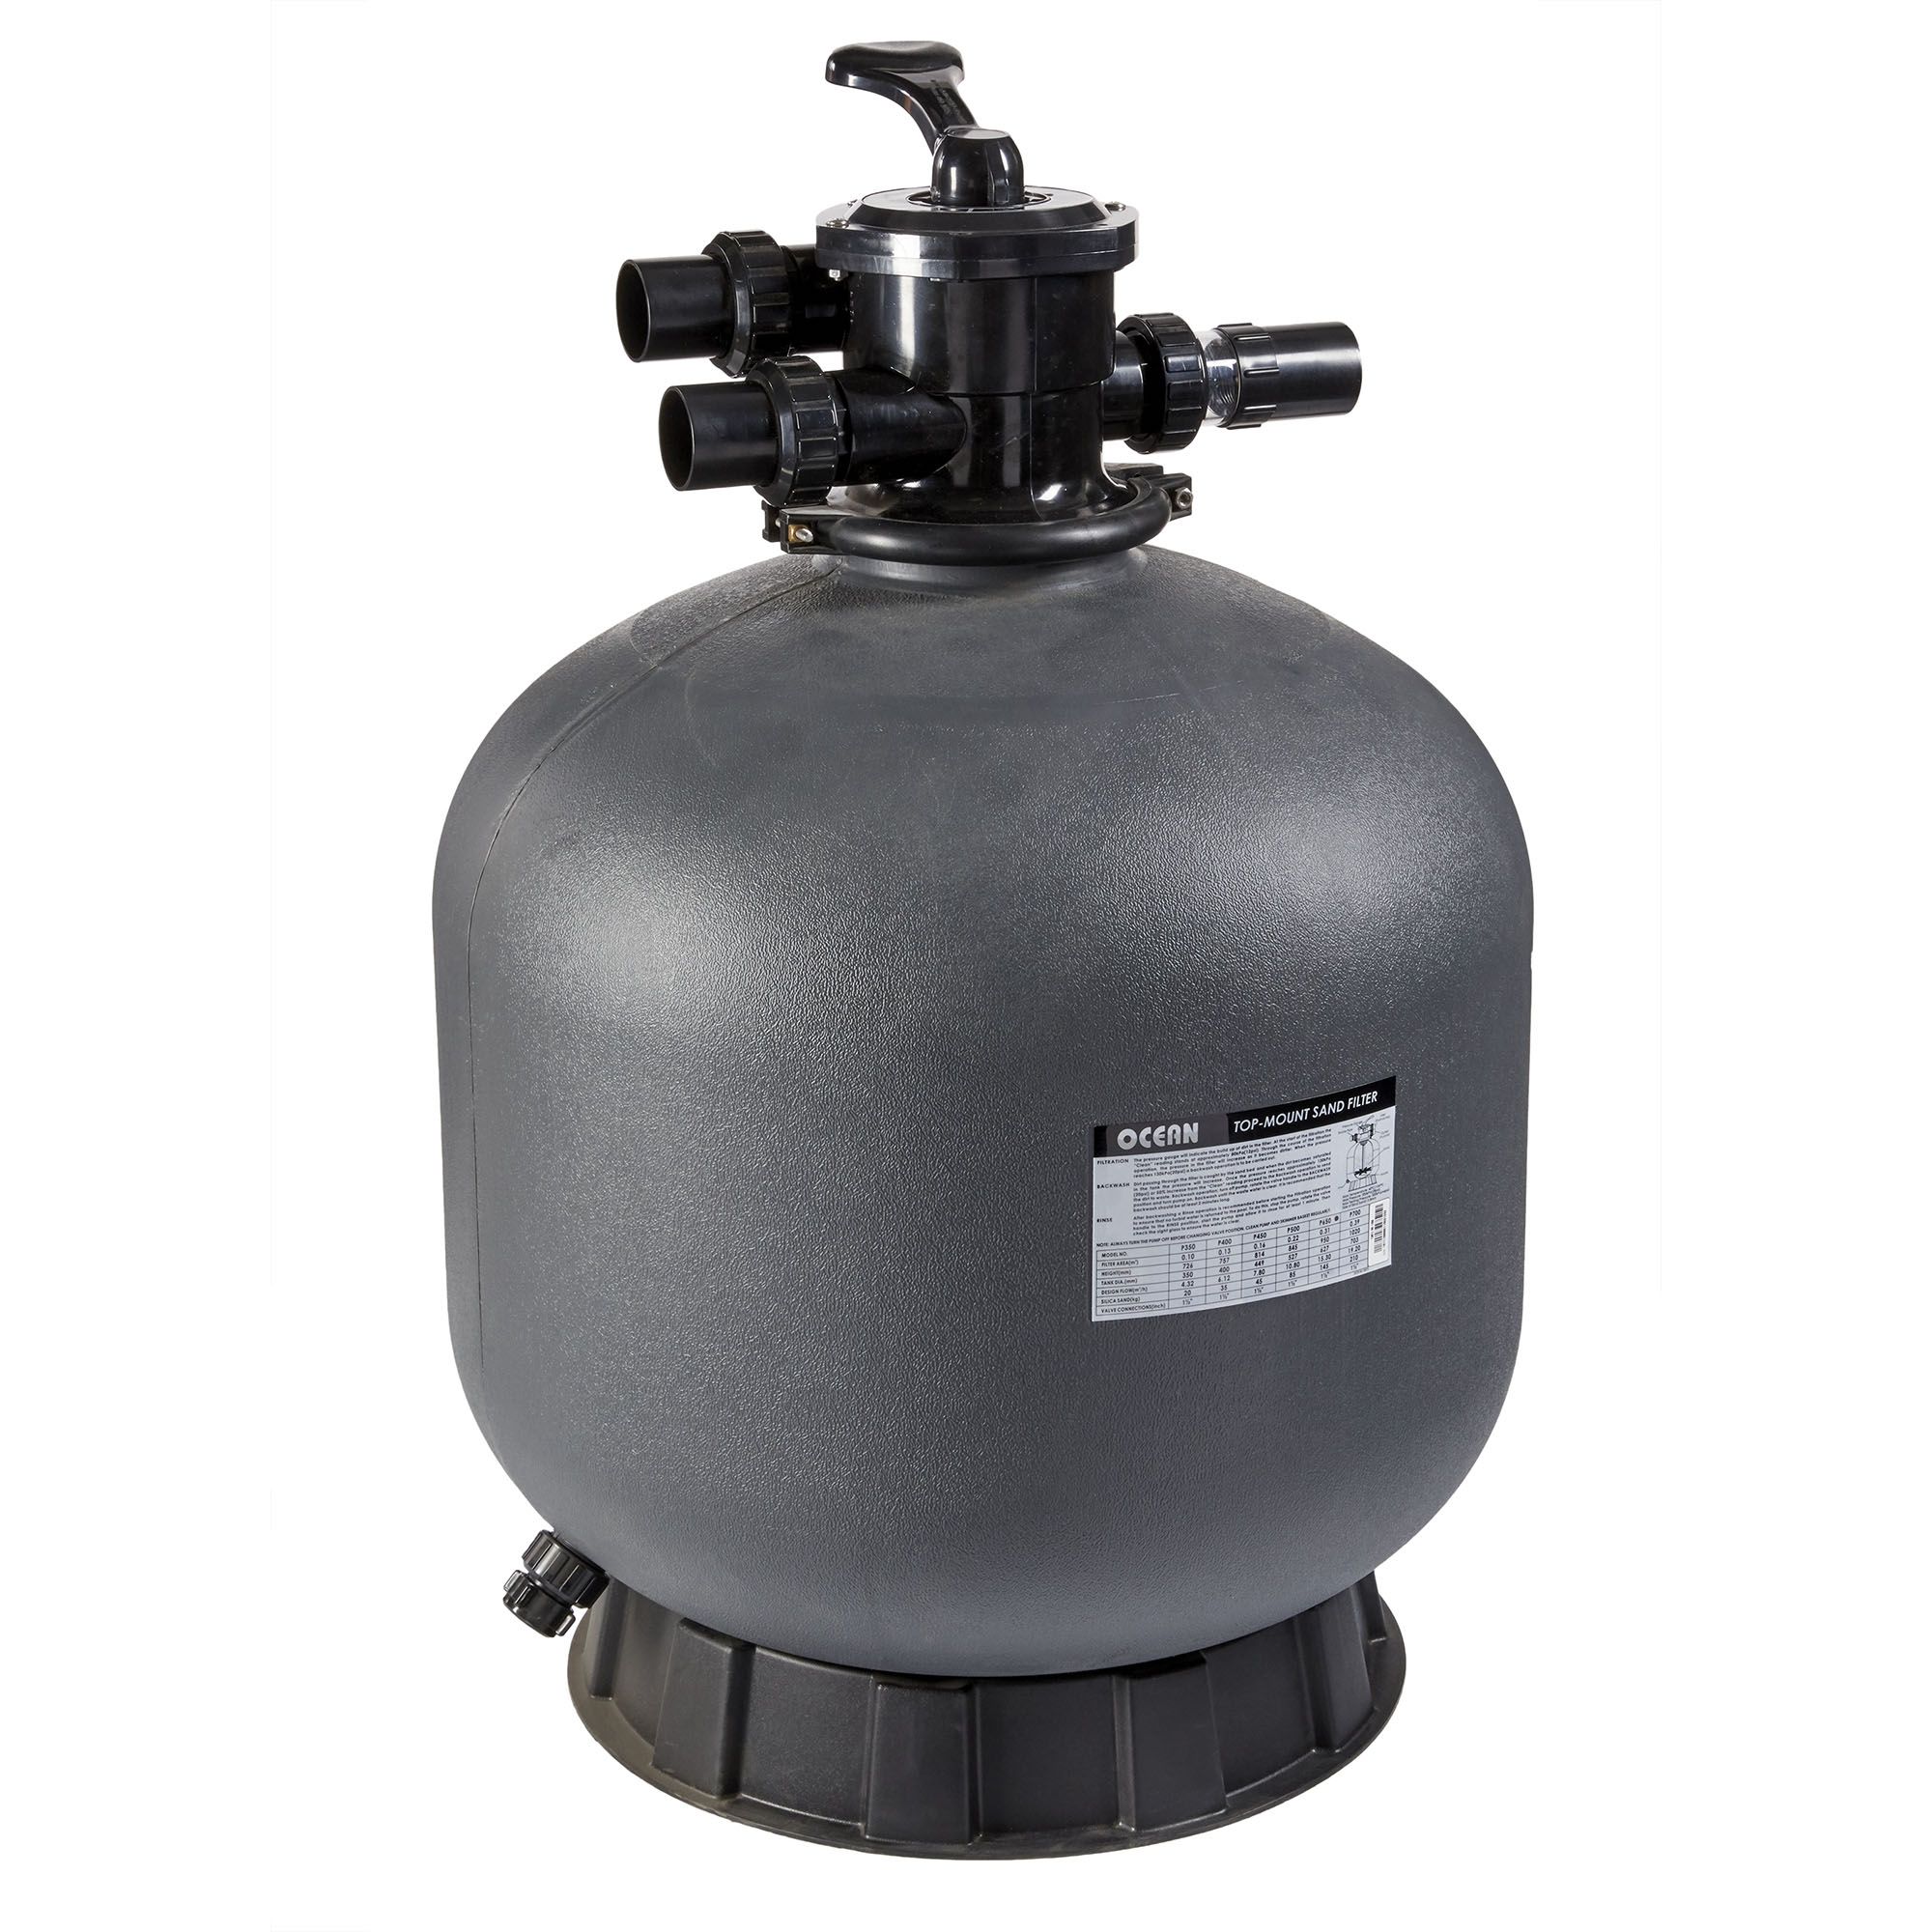
For Sand Filters
- Plan this step the day before closing, as it requires an 8-hour soak time.
- Empty the cleaner bottle into the skimmer.
- Close access to the bottom drain by turning the handle under the skimmer.
- Open the pump for a few seconds until the pink product reaches the filter.
- Turn off the pump and let it soak for 8 hours.
- To flush out the product, set the filter to the "backwash" position and restart the pump.
- Monitor the small glass bottle (sight glass) until the water is clear and no pink remains.
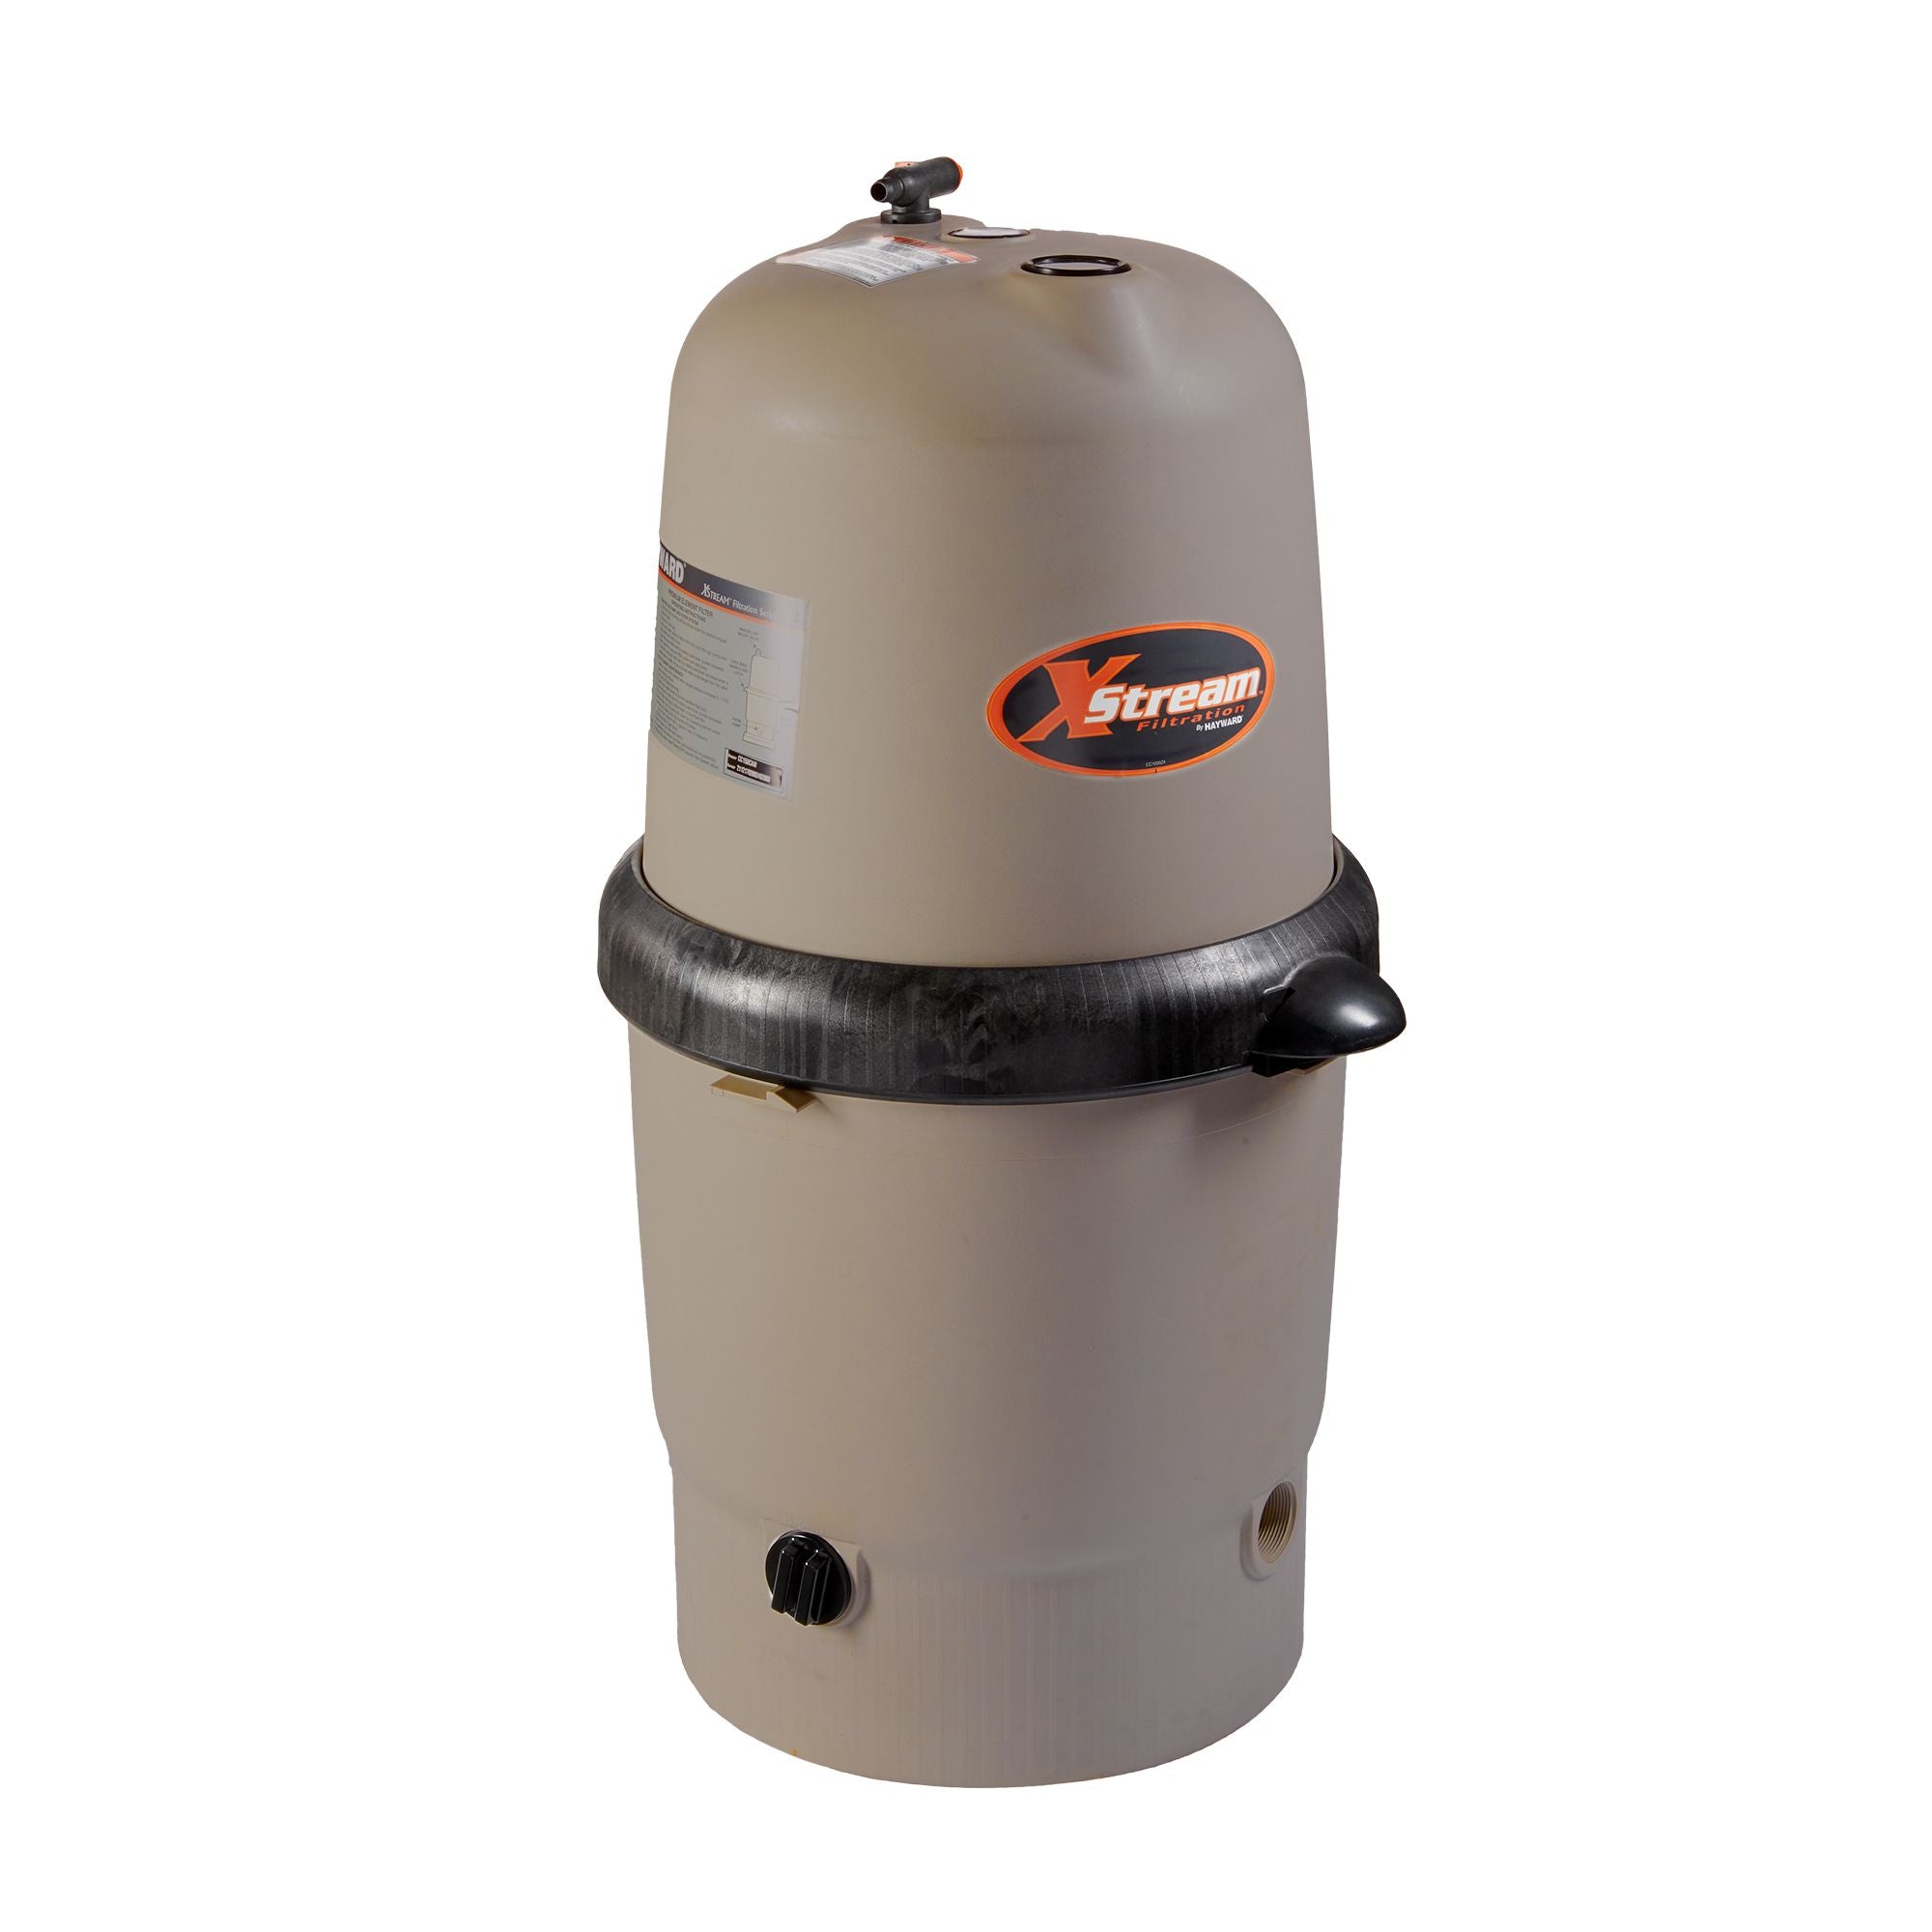
For Cartridge Filters
- Remove the cartridge from the filter and soak it. This can be done before, during, or after closing, but sooner is better to prevent dirt from drying.
- To remove the cartridge, first limit water access to the filter.
- Unscrew the handle slightly below the skimmer and turn it to the closed position for motor access.
- Turn the valve for the water returns to a position perpendicular to the piping.
- Drain the filter by opening the drainage plug and the valve on top of the filter.
- Once empty, unscrew the clamping ring and open the filter to remove the cartridge.
- Soak the cartridge in a container for a minimum of 6 hours.
- Rinse it thoroughly and store it indoors for winter.

The essentials
5. Lowering the water level and cleaning the canvas
Lowering the water level is an essential step to protect your skimmer and plumbing from freezing.
Lowering the Water Level
Without a bottom drain
- Use a pool vacuum. Attach the hose to the vacuum head with the rotating tip and place it at the bottom of the pool.
- Place the other end of the hose directly into the skimmer's piping (remove the skimmer basket first).
- Run a garden hose at a low flow into the skimmer to prevent air intake.
- The water will be sucked up and redirected to your filtration system, then to the street.
With a bottom drain
- Close the skimmer and leave only the bottom drain open.
- Place a garden hose at a low flow into the skimmer to prevent air intake.
- Before starting the motor, position your sand filter's handle to "waste" (égout).
- When the pump is opened, water will be diverted directly to the street via the backwash hose.
- For cartridge filters, water will go from the bottom drain to the pump. Close access to the filter with the handle, and water will be diverted to the street via the drain hose.
Clean the Waterline
While the water level is dropping, clean the water line on the pool liner using a vinyl cleaner and a soft, non-abrasive pad.
The essentials
6. Winterizing equipment
This step is crucial for protecting your equipment from the cold and freezing.
Adding Winterizing Products
Once the water level is 20 inches below the skimmer frame, add winterizing products. Choose a closing kit suitable for your pool type (salt or traditional). Always read product labels for proper use.


Winterizing the Bottom Drain
(if applicable)
This is a critical step. Taking photos of the connections can help with reassembly in the spring.
- At the skimmer, move the valve to the fully open position (the water line to the bottom drain and pump are open).
- Unscrew the line towards the pump and suspend it using a giant self-locking tie, passing it under the pool ledge.
- Use the clamping ring as an anchor for the tie to suspend the water line.
- Make sure the clamping screw is solid before proceeding.
- Remove the skimmer basket and pour 1 to 2 gallons of antifreeze into the skimmer opening.
- Insert the first winterizing "sausage" (sausage-like plug) as far as possible into the skimmer opening, making a loop with the end and wedging it inside.
- Repeat with the second "sausage" for the raised pipe, inserting it completely and wedging the loop inside.
- Place two pieces of styrofoam on either side of the skimmer openings and block them with the small dowel.
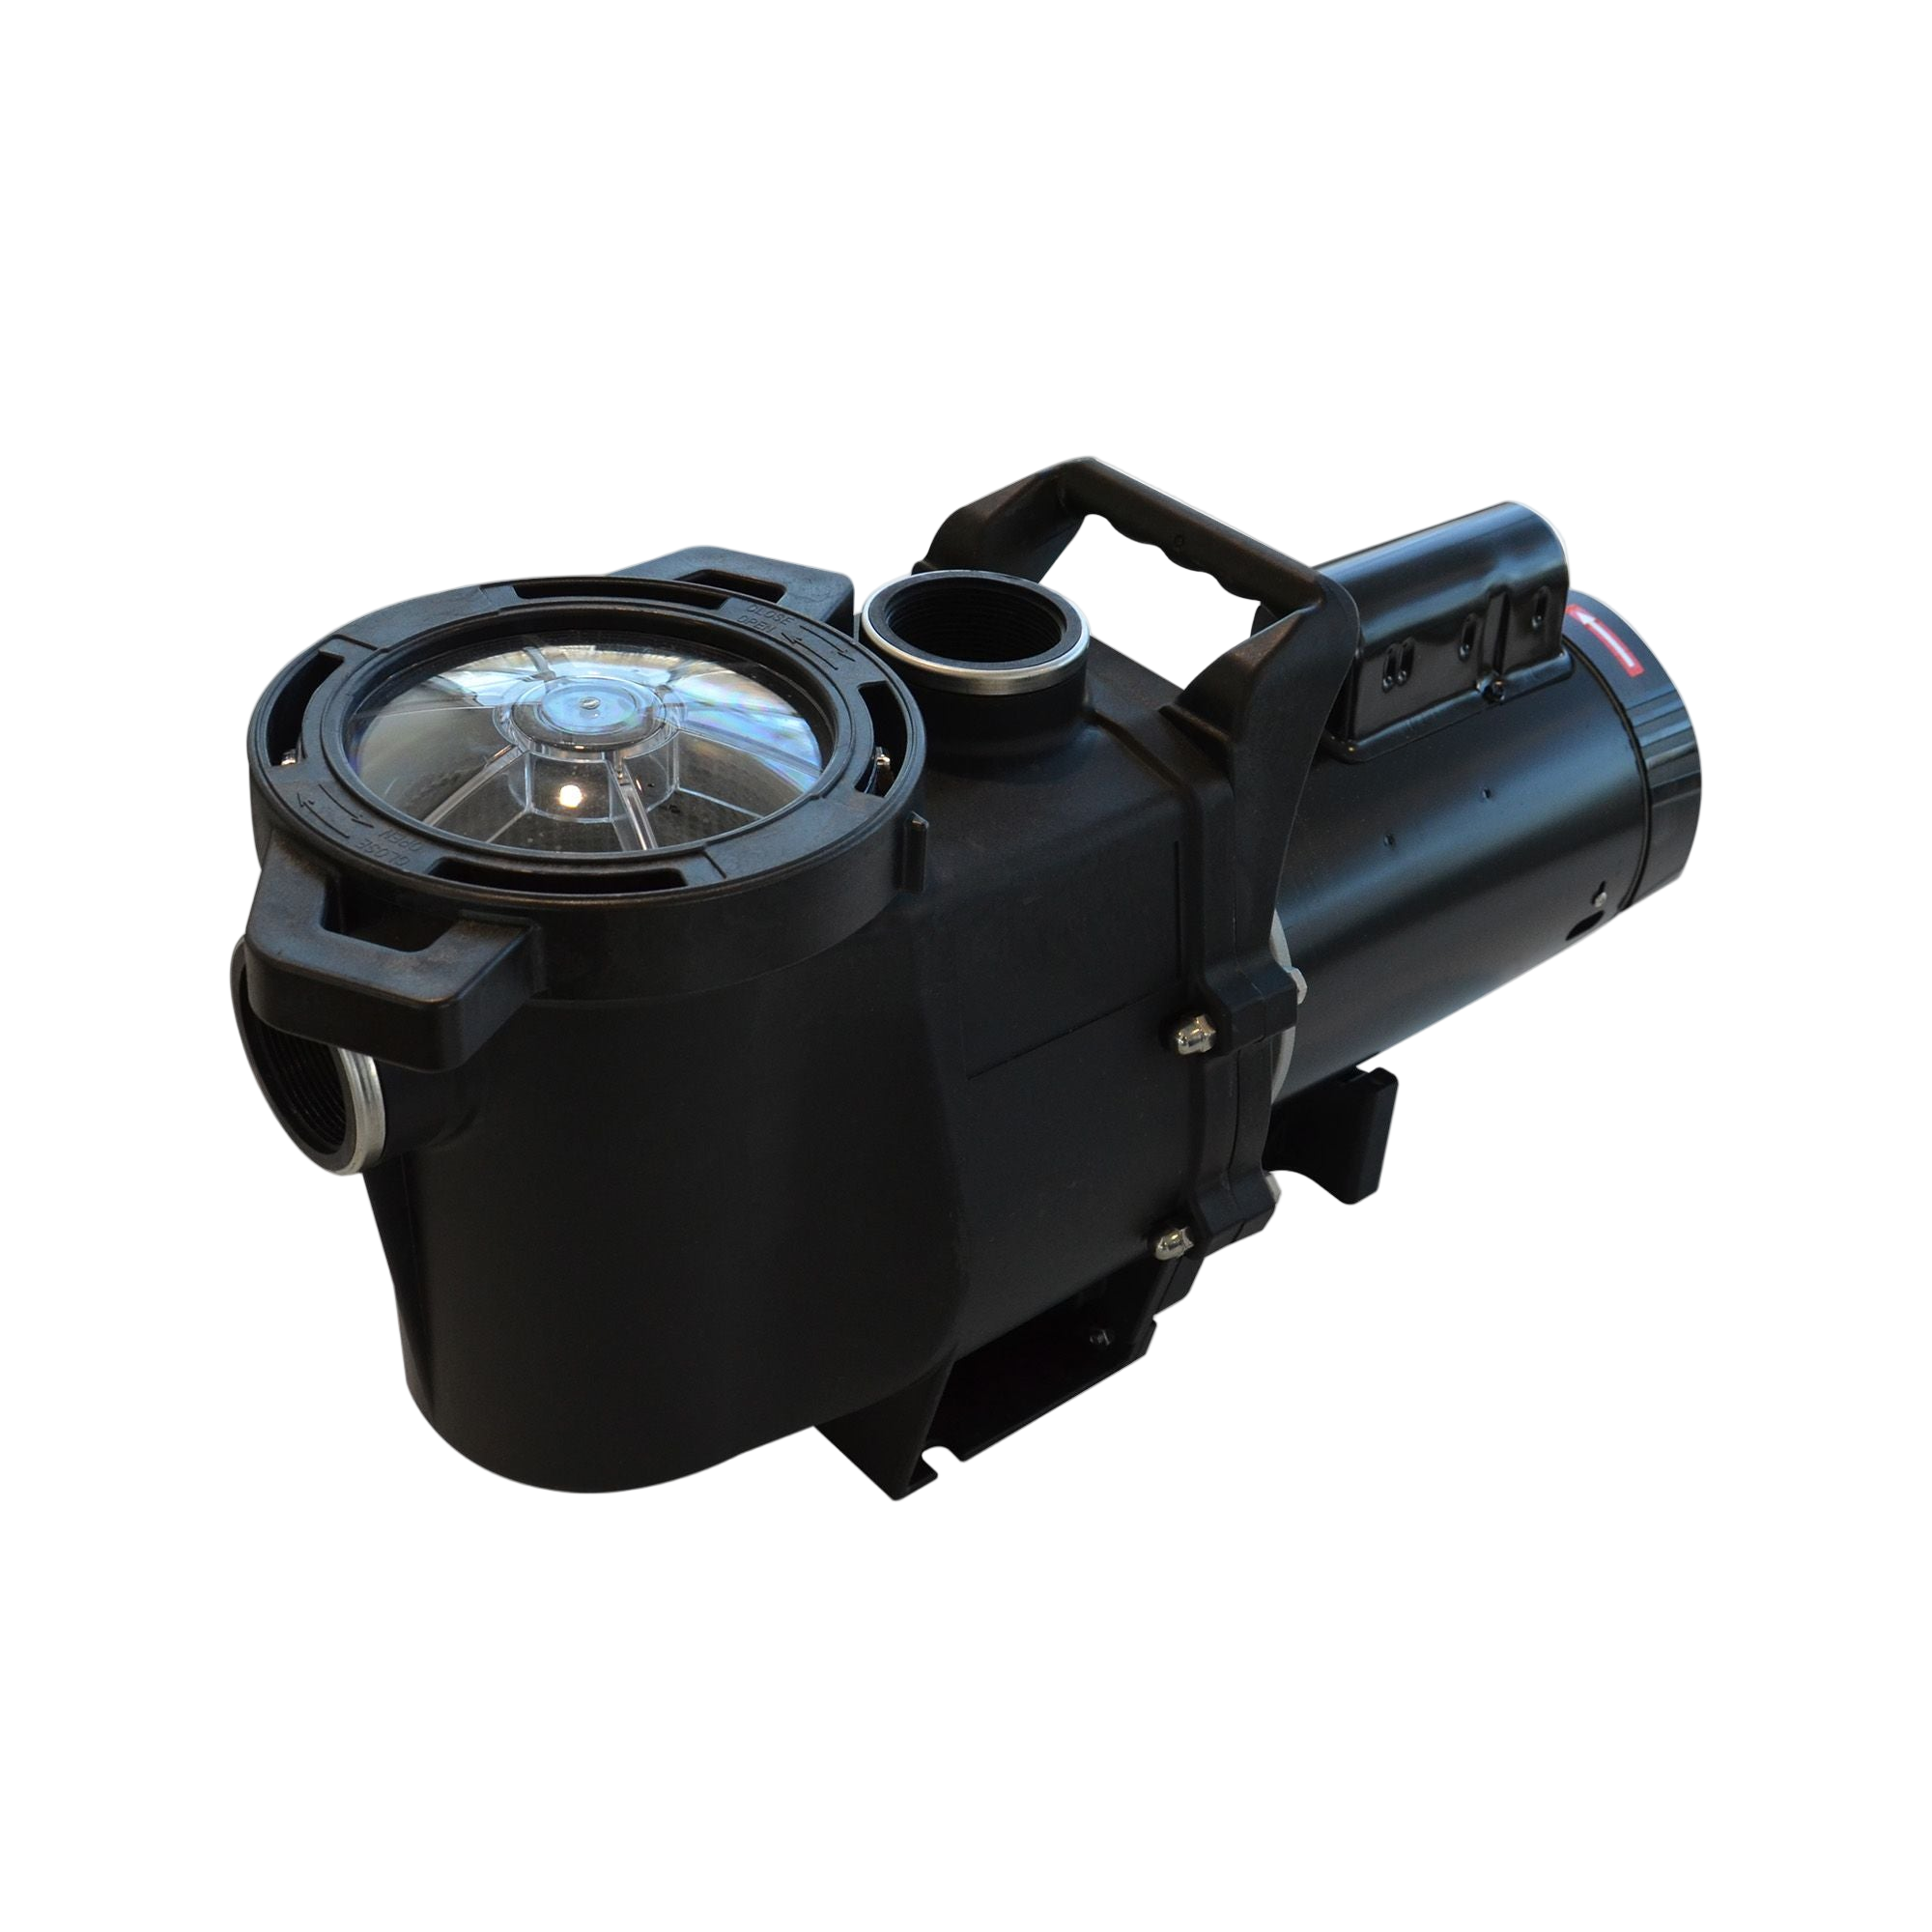
Preparing the Pump for Winter
- Unscrew the water line connected to the filter (this line stays outside for winter).
- Clean and drain the pump components.
- Clean the basket inside the pump.
- Remove both plugs to completely drain the pump.
- Once clean and dry, reassemble everything and store the pump indoors in a dry place.

Preparing the Filter for Winter
- Sand Filter: Once the water is drained to the desired level, switch the handle from "waste" to the "winter" position. Remove the pressure gauge and the small glass bottle (sight glass). It is crucial to remove the drainage plug and not put it back; store it securely.
- Cartridge Filter: Make sure no water remains inside the filter. Open the valve on top and unscrew the drainage plug. Once no more water flows, replace the plug and close the valve. The water return pipe should also be detached from the pool structure, but can remain outside for winter.
Storing Small Accessories
Remove and store the skimmer basket, lid, and skimmer door for winter.
Removing Water Return Parts
Remove all three parts of the water return. For the inner part, a blue key may be needed.
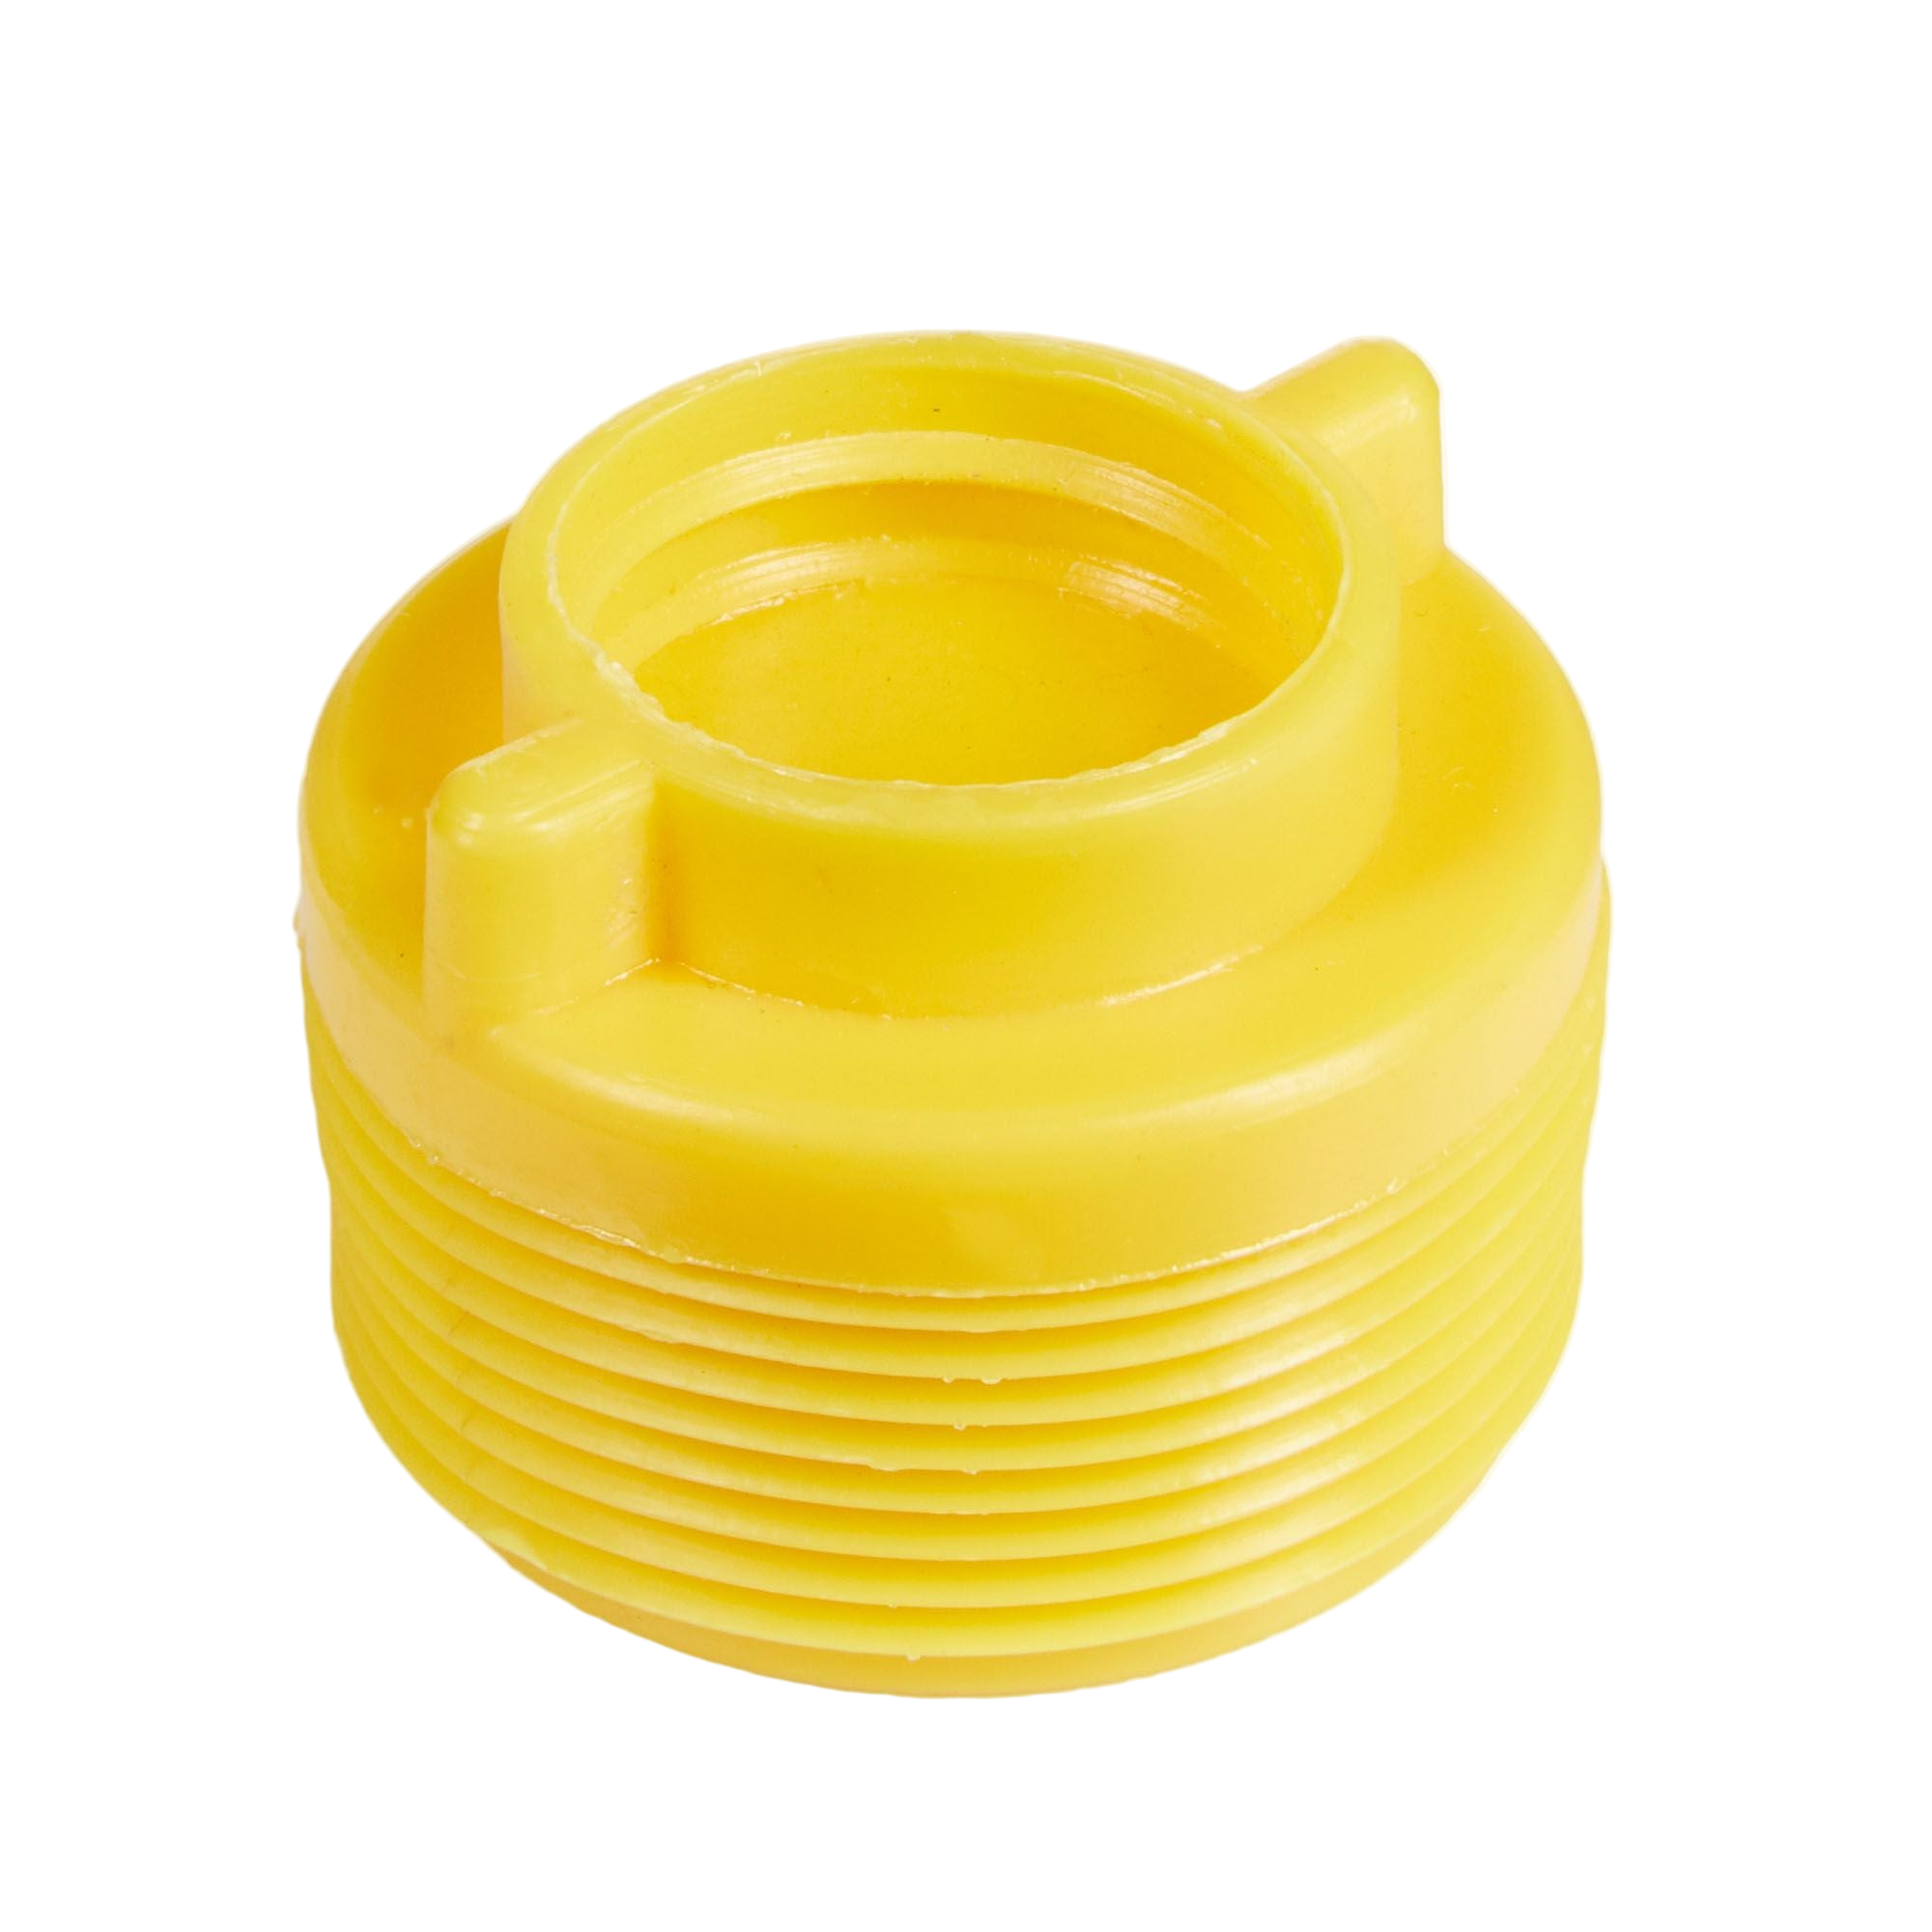
Installing the Yellow Plug
FOR SNOWY REGIONS
In areas with significant snow, install a yellow plug in the water return orifice. Apply Teflon tape before screwing it in.

Preparing Pool Lighting
- Wall-Mounted Light: Unplug the wire from the transformer. The light can stay in the pool, but the transformer should be stored indoors.
- Solar Lights: Can remain in place for winter.
- Skimmer Light: Unplug from the transformer. Store the transformer indoors. Detach and store the light itself for winter.
Draining the Heat Pump
- Unscrew the water inlet and outlet.
- If your heat pump has drainage plugs, remove them to facilitate drainage.
- Slightly tilt the heat pump to help water flow out.
- Insert a sealing plug into the bottom orifice.
- Make sure all drainage plugs are reinserted before adding antifreeze.
- Tilt the heat pump and add some antifreeze into the top orifice.
- Insert the second expandable plug before straightening the heat pump.
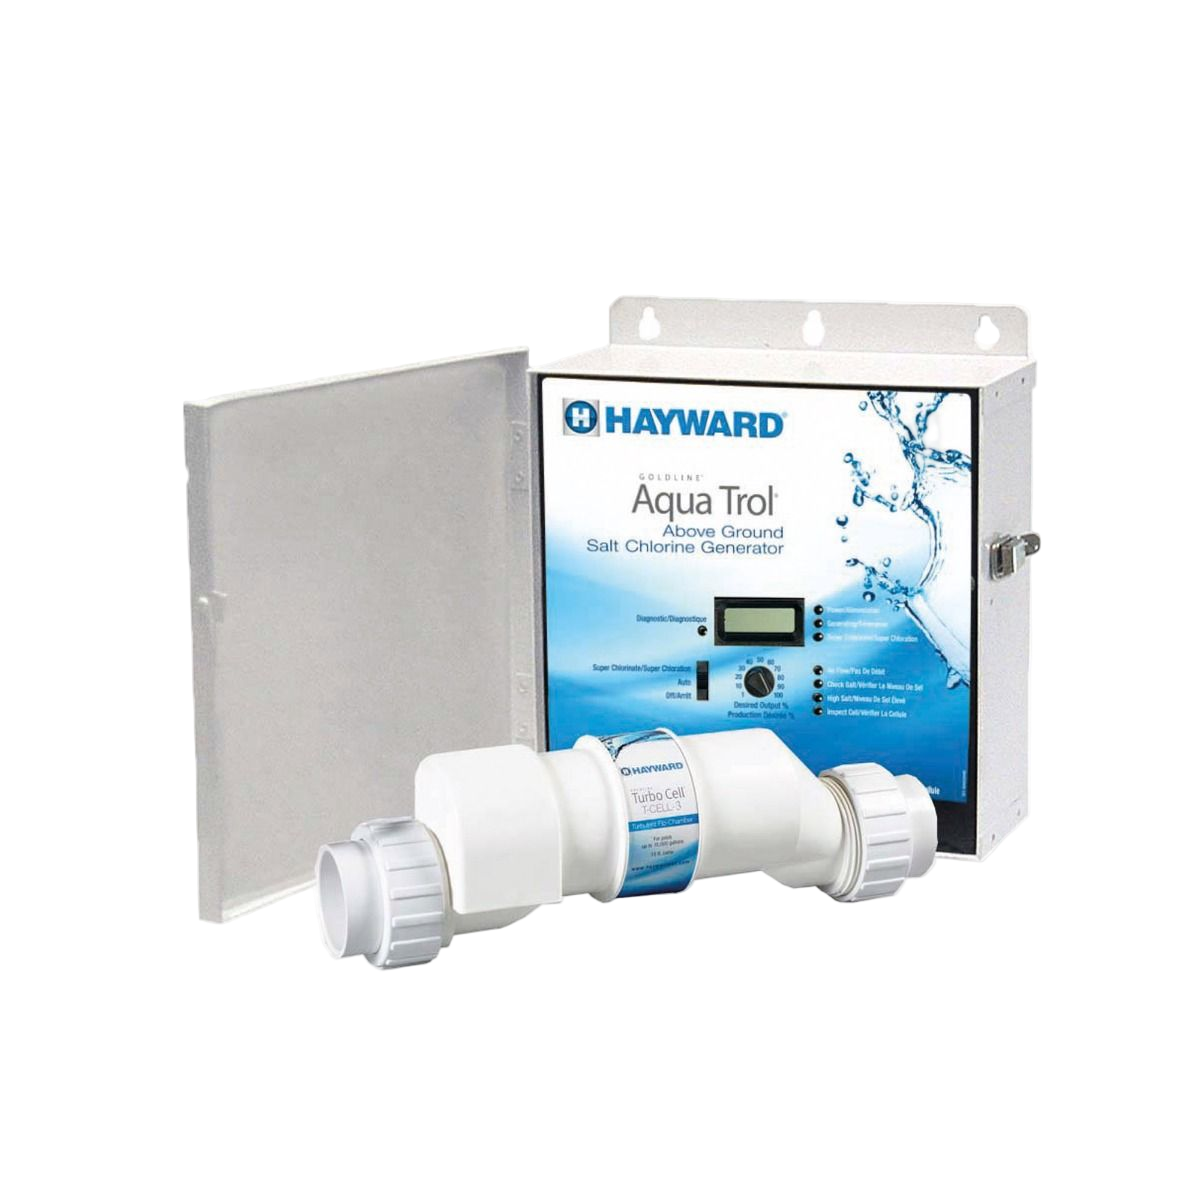
Preparing the Salt System
- On the control box, set the switch to "off".
- Unplug the electrical cord and the cell wire.
- Close the control box; it can remain outside for winter.
- For the cell (connected to your water return), unscrew it from below to detach it from the pool piping.
- Install the soaking base.
- Clean the cell: use the end without the electrical wire for easier cleaning.
- Work on a flat, protected surface, wearing gloves and safety glasses, as the cleaning liquid is corrosive.
- Pour the cleaning liquid into the cell and let it work for 20 to 30 minutes. It's reusable, so pour it back into the bottle. Repeat if necessary.
- Once clean, rinse gently with a garden hose and bring it indoors for winter.

Protecting the Ozonator
- Unscrew the two rings connecting the pipes.
- Tilt the piping on both sides to allow water to drain completely.
- Unplug the green wire. It can stay outside with the control box, or you can bring it inside.
- Store the plumbing indoors for winter.
- Don't forget to unplug the electrical cord.
Preparing the Chlorinator
- Unscrew the pipes connected to the pool plumbing on both sides of the chlorinator.
- Set the switch to "full".
- Be careful when opening, as chemical fumes may be present if chlorine remains inside.
- Dispose of any remaining chlorine safely.
- Dry the chlorinator by tilting it to empty excess water.
- Once dry and clean, replace the lid and store it indoors for winter.
The essentials
7. Final steps and installation of the winter cover
This is the home stretch before putting your pool in winter mode!

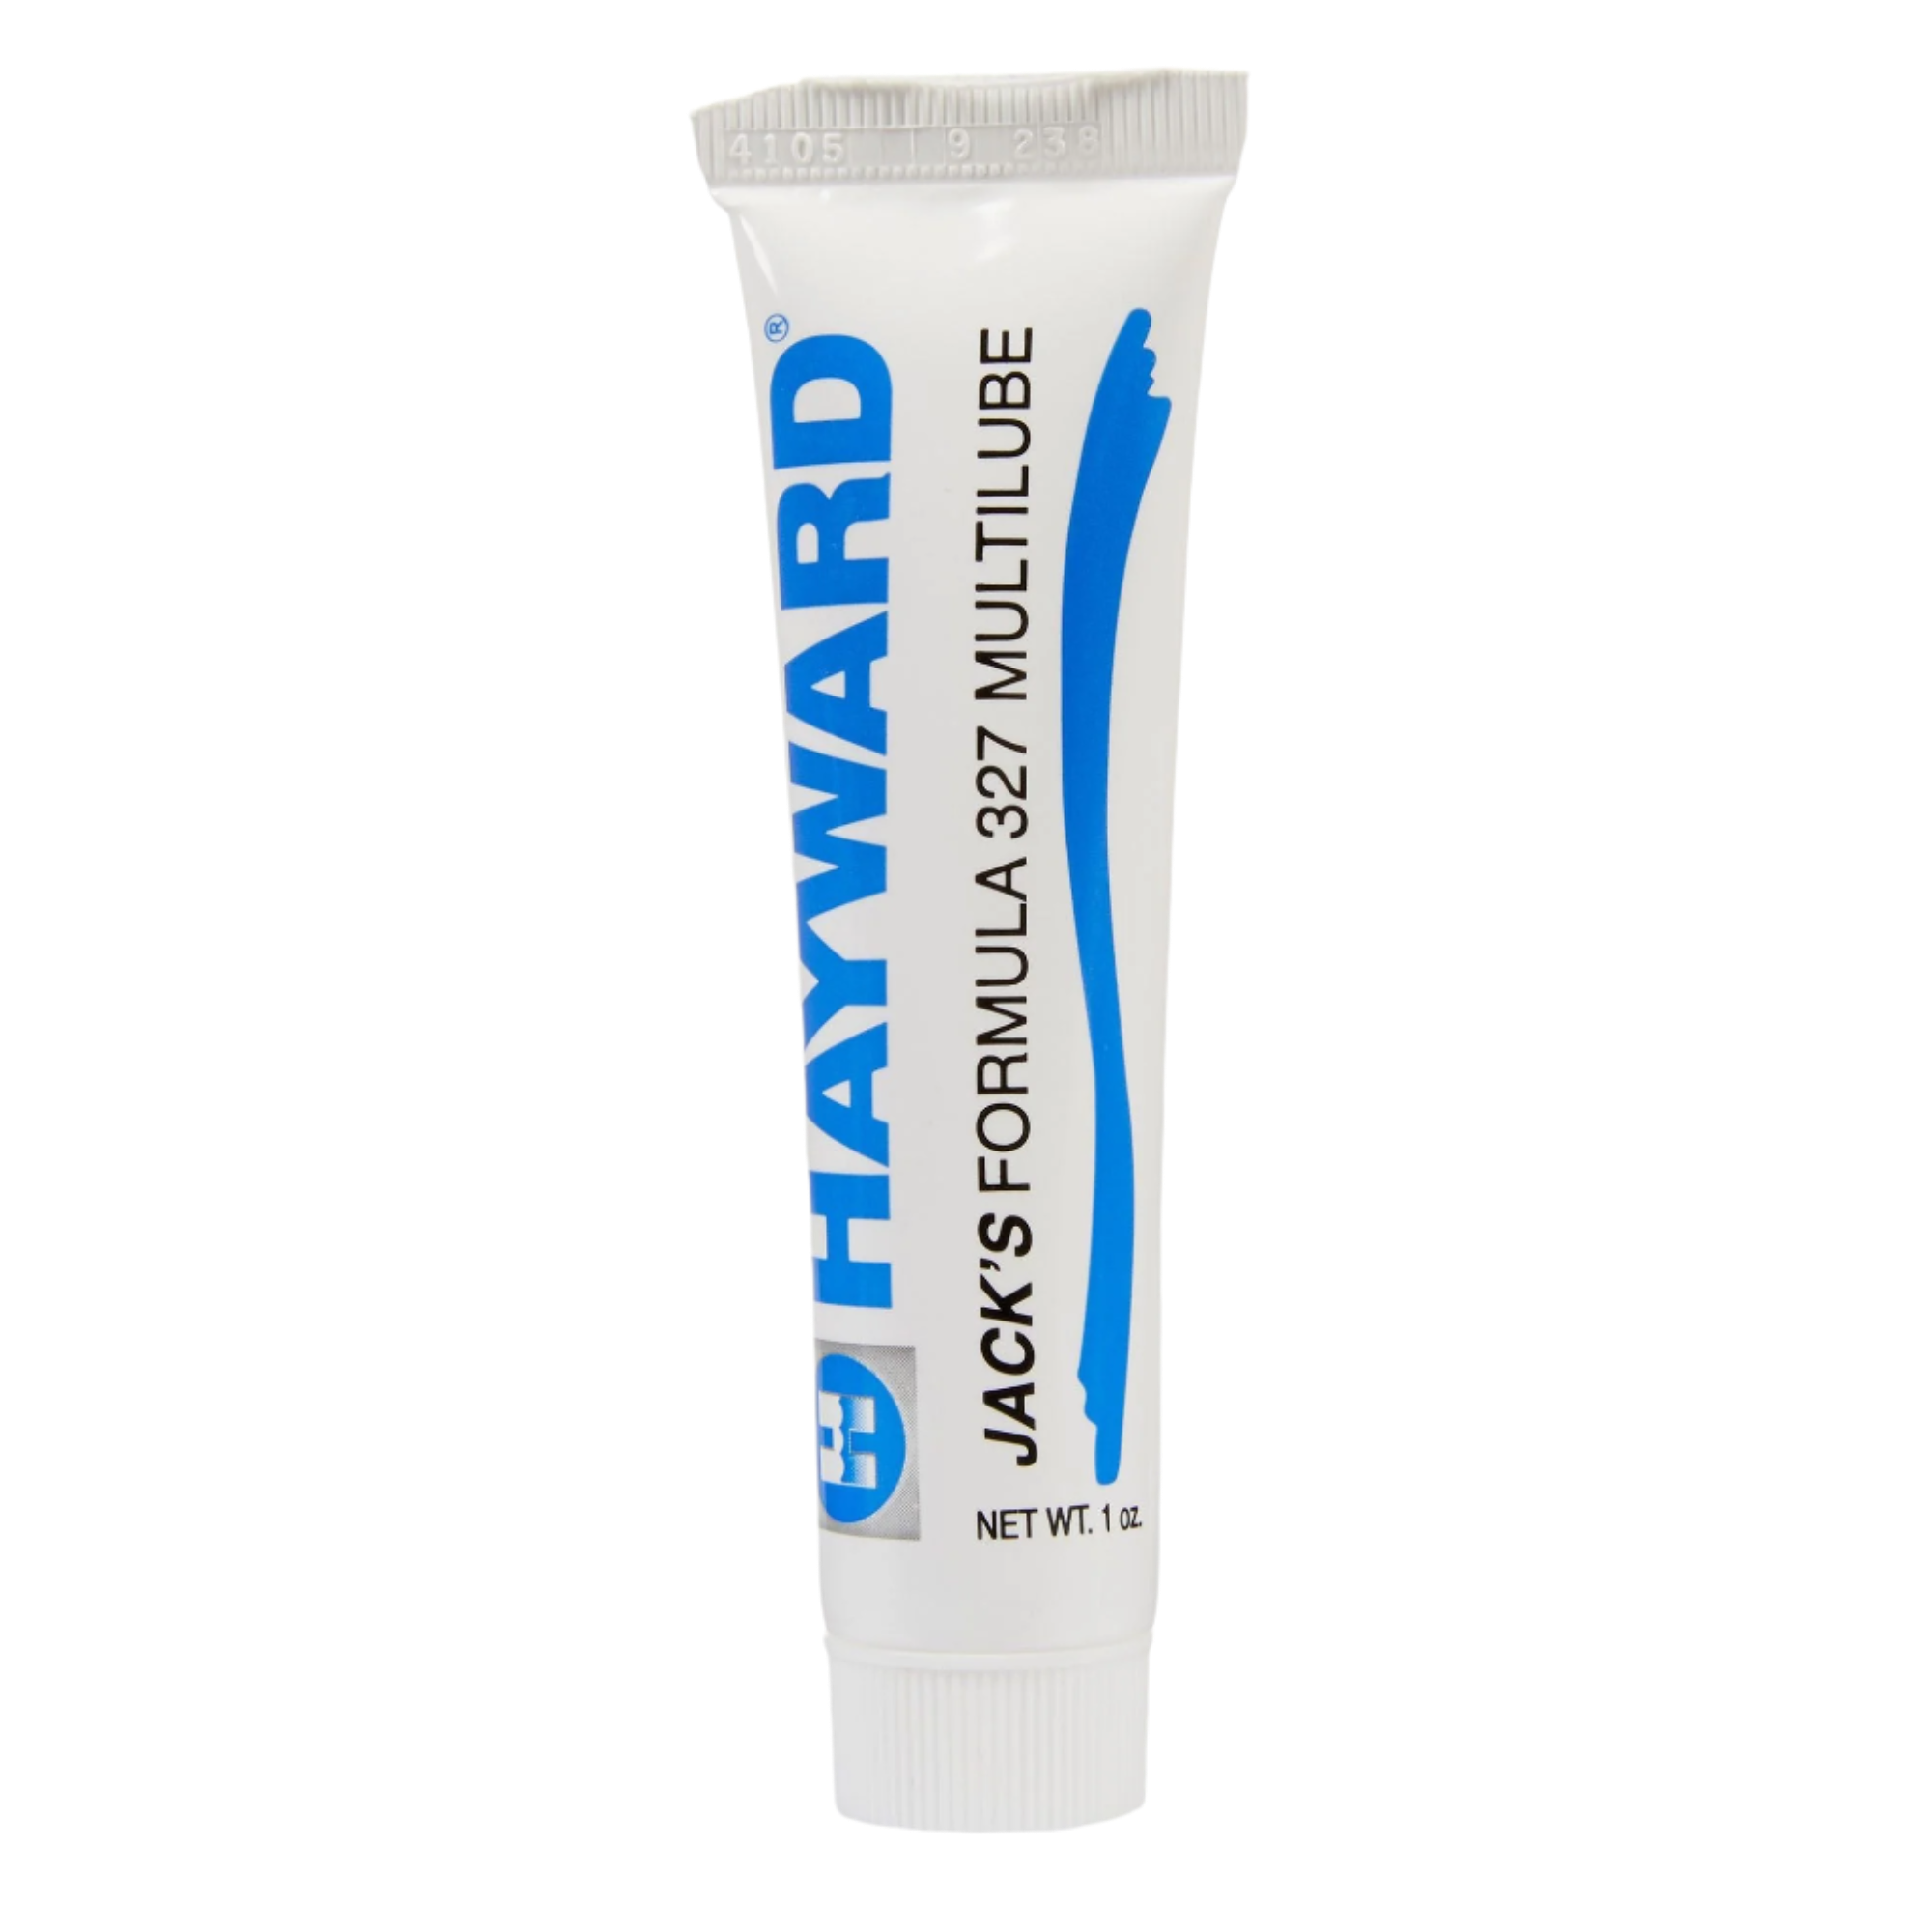
Lubricating Gaskets
Apply a water-based lubricant to any gaskets that were removed or loosened before storing them for winter.
Installing the Winter Cover (Mesh Cover)
- Install the rope all around the perimeter of the pool and tighten it with some resistance using the tensioning tool.
- Install a star-shaped elastic system to support the cover. Each elastic has a hook to attach to the rope around the pool. It's helpful to have a friend assist with this step.
- Place the cover over the elastic system.
- Tighten the clamping frame all around the perimeter of the cover. Stop tightening when you can still lift the cover over a joint cover.
- Periodically check the tension during winter, as the weight of the ice might make it too tight. Loosen the tension slightly if needed to ensure you can still lift the cover over the joint cover.

The essentials
Pool closing service
Don't want to worry about it? Book your pool closing with one of our experts this fall.
Book early to make the most of the season!


Closing courses
In store
Learn how to close your pool from our in-store experts.
Everything for your pool and spa maintenance, online.
Get free access to our courses, practical guides, and online water analysis tool to keep your water clear and healthy all summer long.

