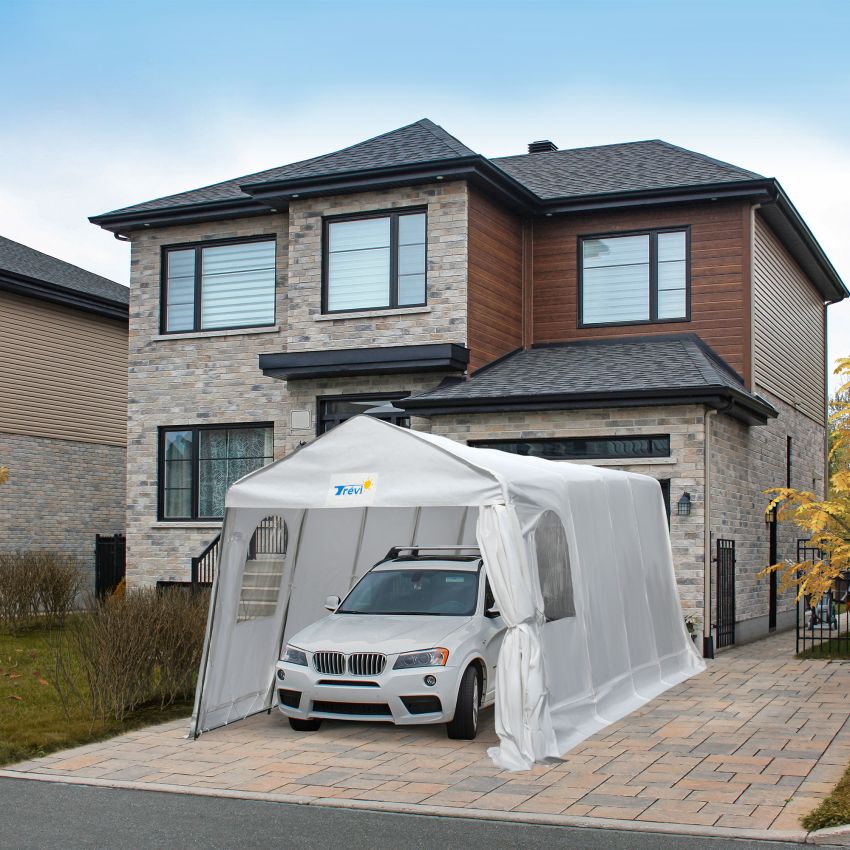
How to install a carport: Step-by-step guide
Carports are a practical solution for protecting your vehicle from the elements, especially in winter. Whether you already have a shelter or are planning to install one in the near future, this guide explains all the steps involved in installing a carport safely and efficiently.
1. Preparing and checking parts
Before you begin installing your carport, it's essential to check that all the parts are present. Here are the main steps to prepare yourself:
- Check all parts: Use a checklist to make sure you have everything you need (posts, screws, canvas, etc.).
- Position your parts on the ground: Lay out the poles and shelter components on the ground to visualize their location.
2. Assembling the shelter structure
Once you've arranged your parts, you can start assembling the frame. This process involves understanding the role of each component:
- Posts with holes: Posts with holes at the top will be used at the four corners of the shelter. They reinforce the structure by supporting the 45° corners.
- Horizontal posts: alternate between “female-female” and “male-female” posts. Always start with a “female-female” at the end.
- Arch assembly: The arches are essential for the shelter's stability. You assemble them by connecting the posts with short screws for flattened sections and long screws for round sections.
3. Installing bars and feet
Once the arches are assembled, you can start installing the bottom bars and feet:
- Fixing the bottom bars: These bars serve to solidify the base of the shelter. If you're using cement blocks to hold the shelter together, be sure to position them before attaching the bars.
- Permanent anchors: For optimum strength, we recommend the use of permanent anchors. These anchors are fastened to the ground with an SDS drill and reinforce the shelter structure against strong winds.
4. Canvas installation
Once the frame has been assembled, you can install the canvas covering the shelter:
- Measure the diagonals: For optimum fit, measure the two diagonals of the shelter. They should be as close together as possible to ensure correct alignment.
- Positioning the canvas: Start at the back of the shelter and unroll the canvas all the way to the front. Make sure the canvas is centered and that the windows are positioned at the front to facilitate visibility when entering or leaving the shelter.
5. Securing the shelter
Once the tarpaulin has been installed, it's time to secure your carport so that it remains stable even in strong winds:
- Attaching the ropes: Attach the tarpaulin using ropes to secure it around the poles. If your carport is equipped with straps or tubes for tensioning the canvas, use them to ensure optimum tension.
- Anchoring the corners: Finally, secure the corners of the shelter with ropes or special fasteners to ensure that it doesn't move, even in high winds.
6. Tips for successful installation
- Work in pairs: Setting up a carport is easier in pairs. It's easier to align the arches and attach the canvas.
- Use the right tools: A drill with a low setting can be useful for tightening screws, but take care not to overtighten or damage the shelter.
Conclusion
By following these simple steps, you'll be able to install your carport safely. If you want an even more stable and durable shelter, consider using permanent anchors or seeking the help of qualified professionals. At Trevi, we offer not only quality carports made in Quebec, but also installation services to ensure your carport is ready to face the Quebec winter.


